Use Klaytn Safe
Create a Safe
Here you will see how to create a Safe and evaluate its benefits on the Klaytn Network.
Step 1: Navigate to Klaytn Safe App. By navigating to the application on your web browser, you can explore the functionality of Klaytn Safe.
Step 2: Connect your wallet. At the moment, Klaytn Safe has support for MetaMask wallet. Make sure you have Klaytn networks(Cypress or Baobab) added to your MetaMask wallet to connect successfully.

Step 3: Once your wallet is connected, click "Create New Safe" and give your new Safe a name. This name is linked to your safe account, which is a multi-signature wallet that holds and stores all of your funds.
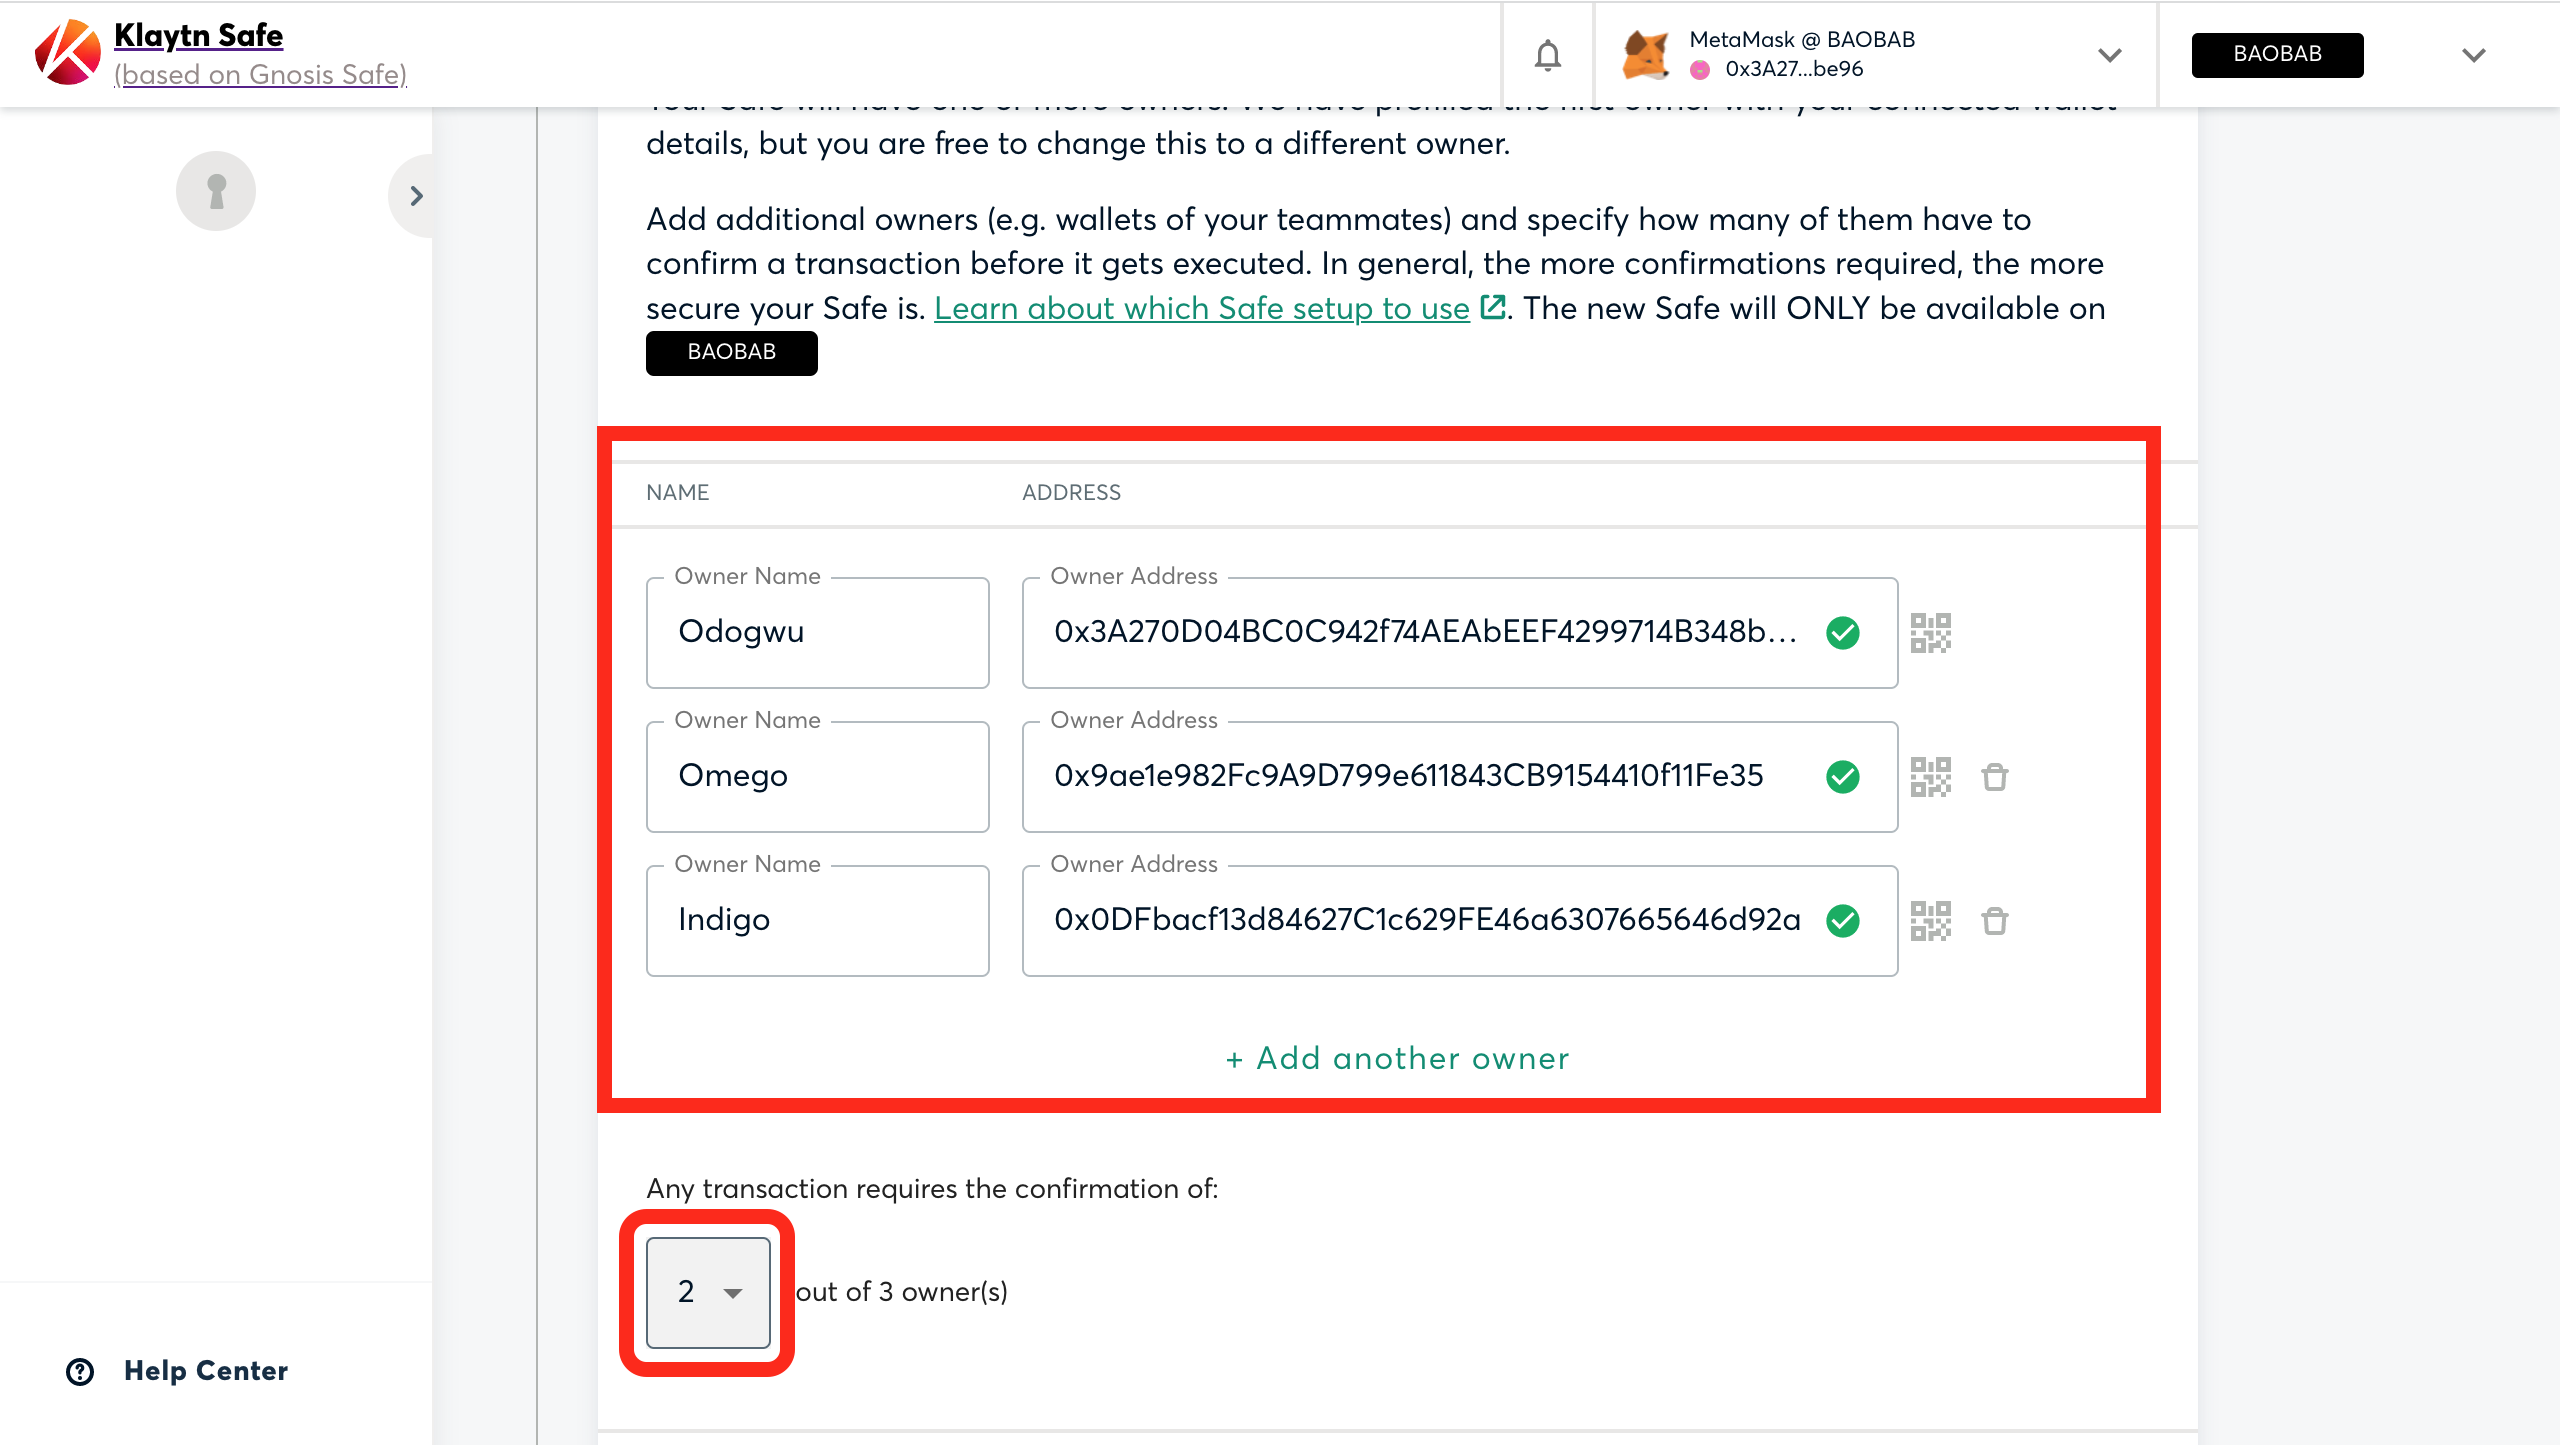
Step 4: Add owners/signers by inputting the addresses that have permission to submit and approve transactions. You can add as many signers as you want and remove or replace any of them at any time.
Step 5: Choose how many signer confirmations a transaction in your Safe account needs to be approved. It is important to note that by default our app allows one signer confirmation. But it is advisable to use a threshold higher than 1 to ensure a secured safe account. Good practice is to use a threshold of 51% of the total owners e.g, 2 out of 3, 3 out of 5 etc as shown below:
Step 6: Review and deploy Safe: Once you are completely satisfied with all of your Safe parameters, you can submit the creation of your Safe account and proceed with the on-screen instructions to complete the account creation.
Congratulations on successfully creating your Klaytn Safe account!
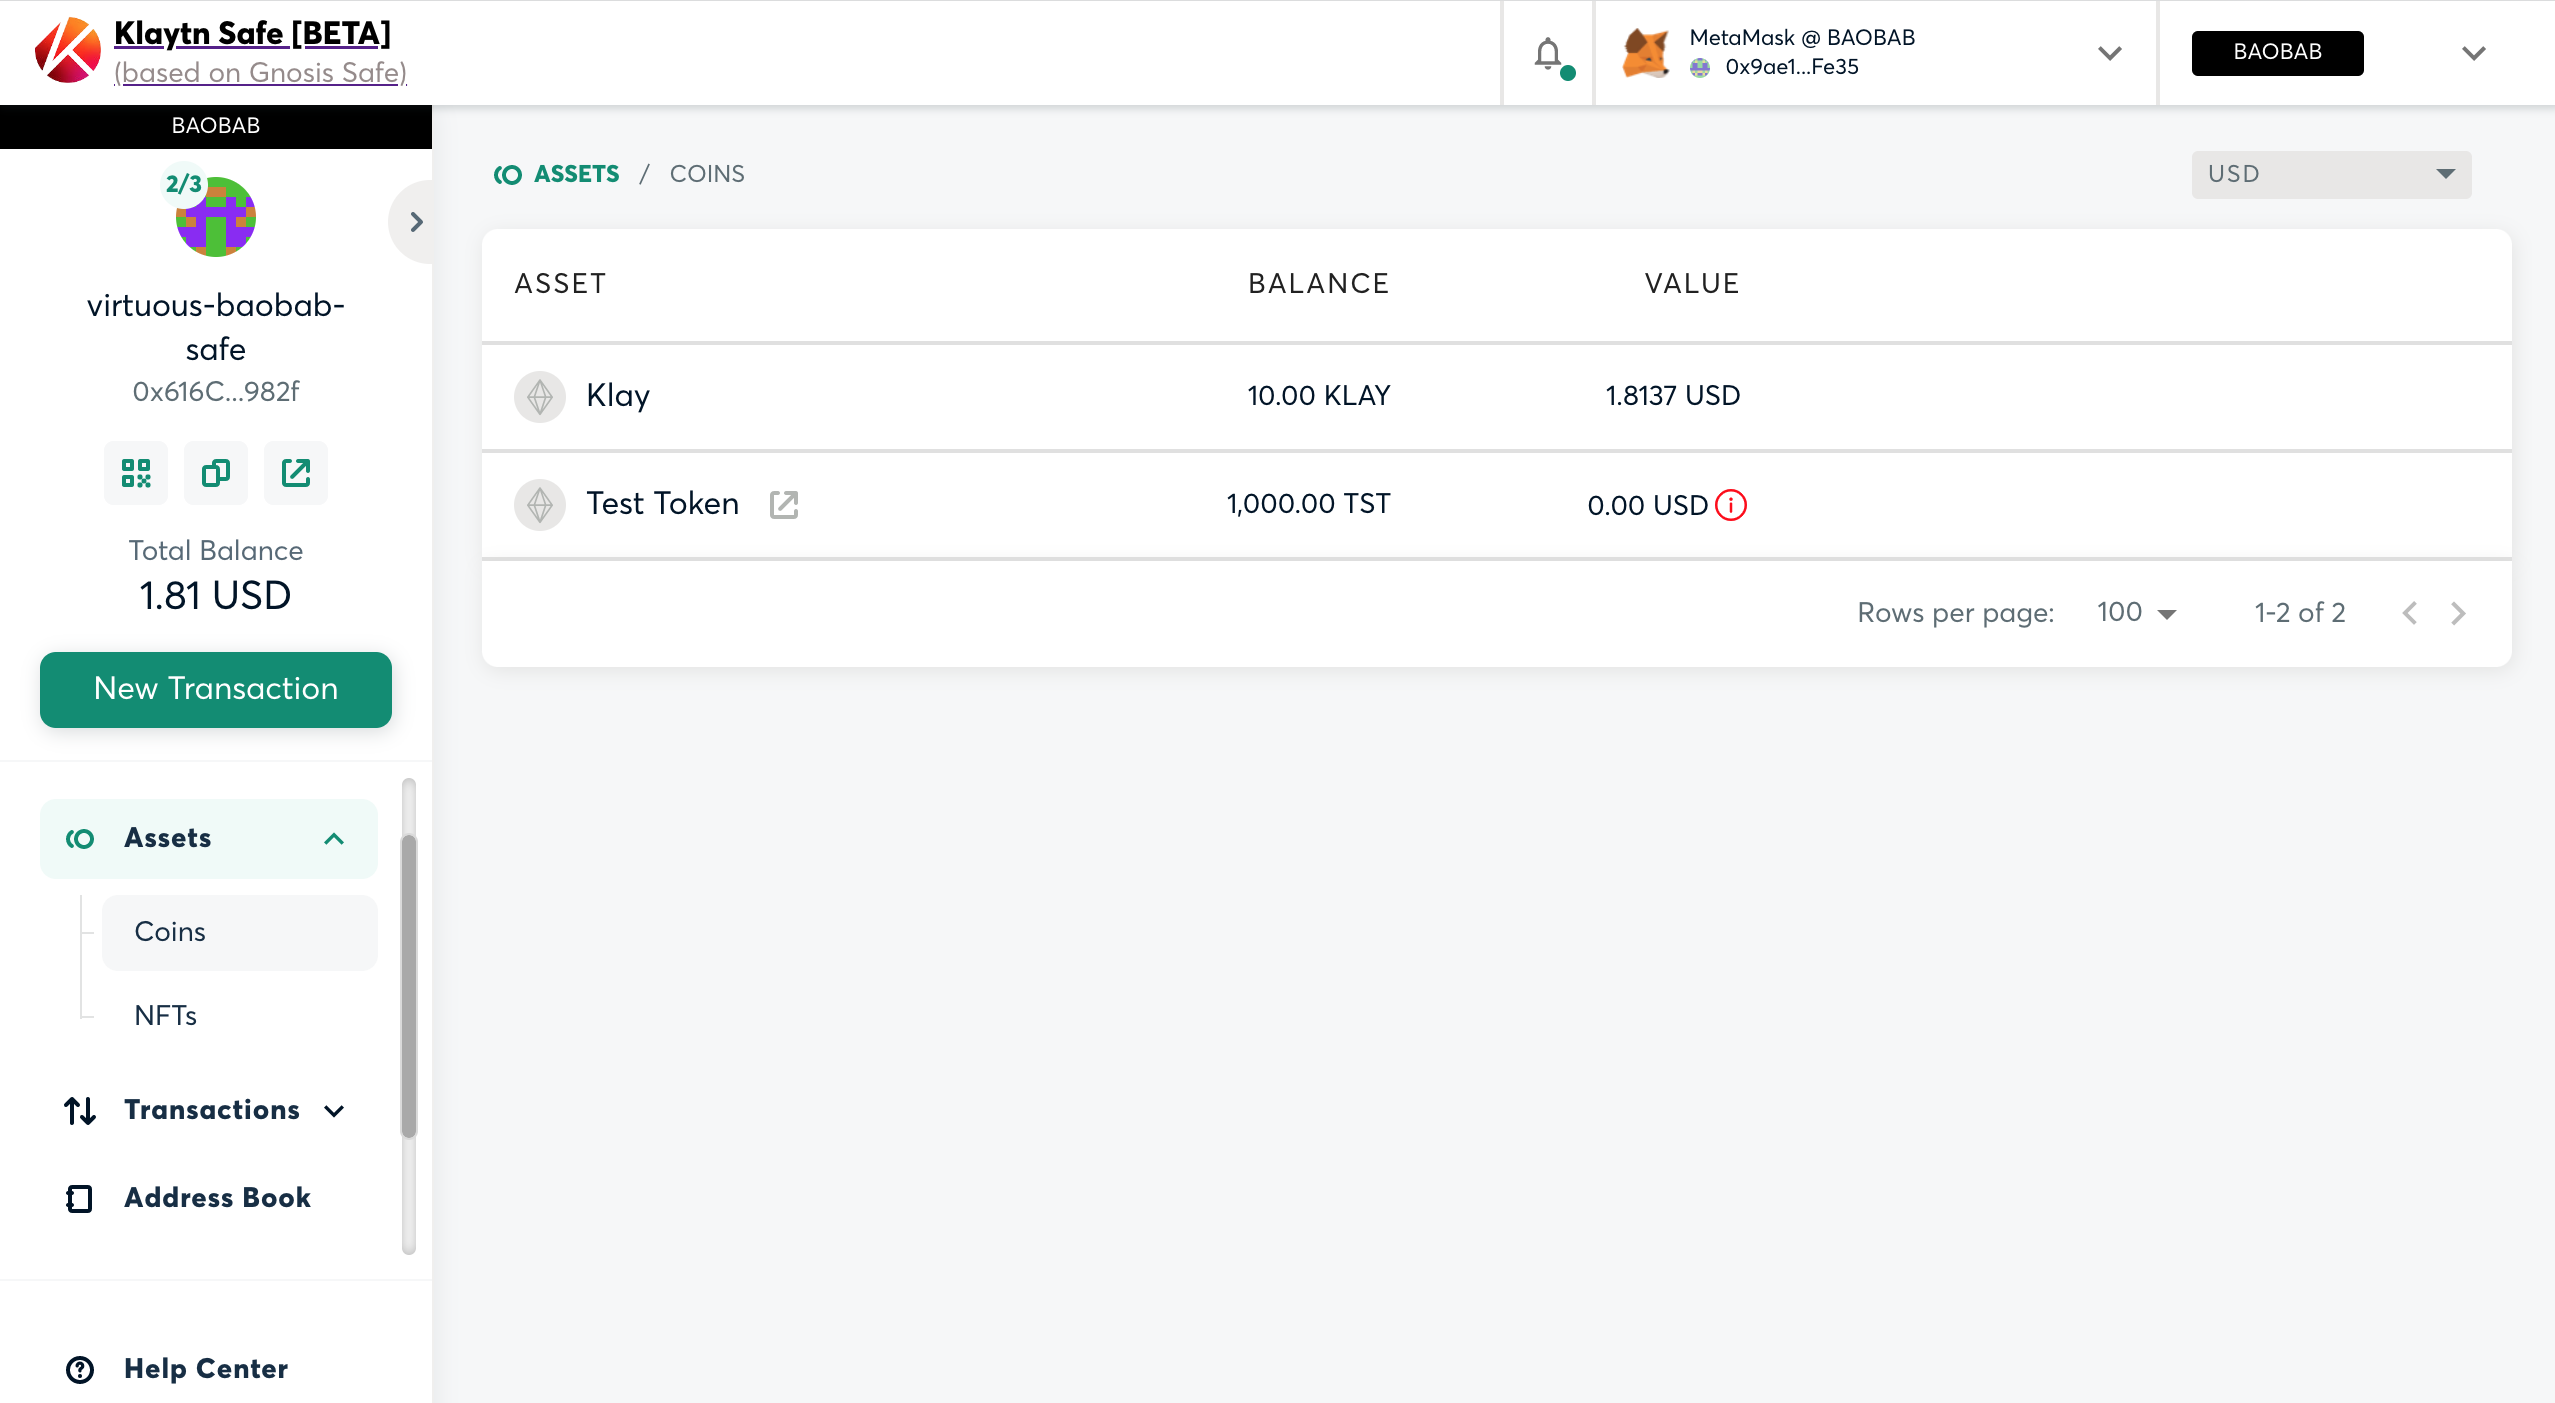
Add assets
In this section, we will see how to add your assets (KLAY, FT, NFT) to your safe account and keep your funds safe.
KLAY Deposits
Below are the steps to add ‘KLAY’ to your safe account
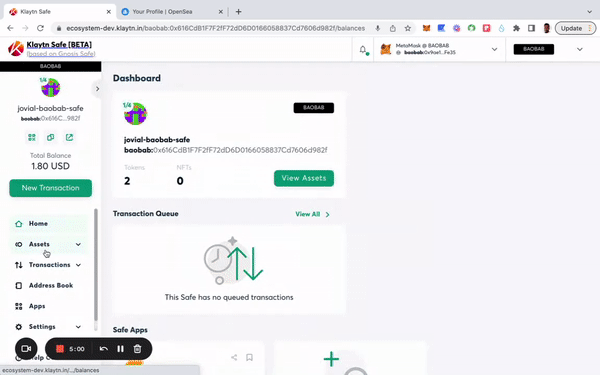
Step 1: Copy your Safe address from your account dashboard.
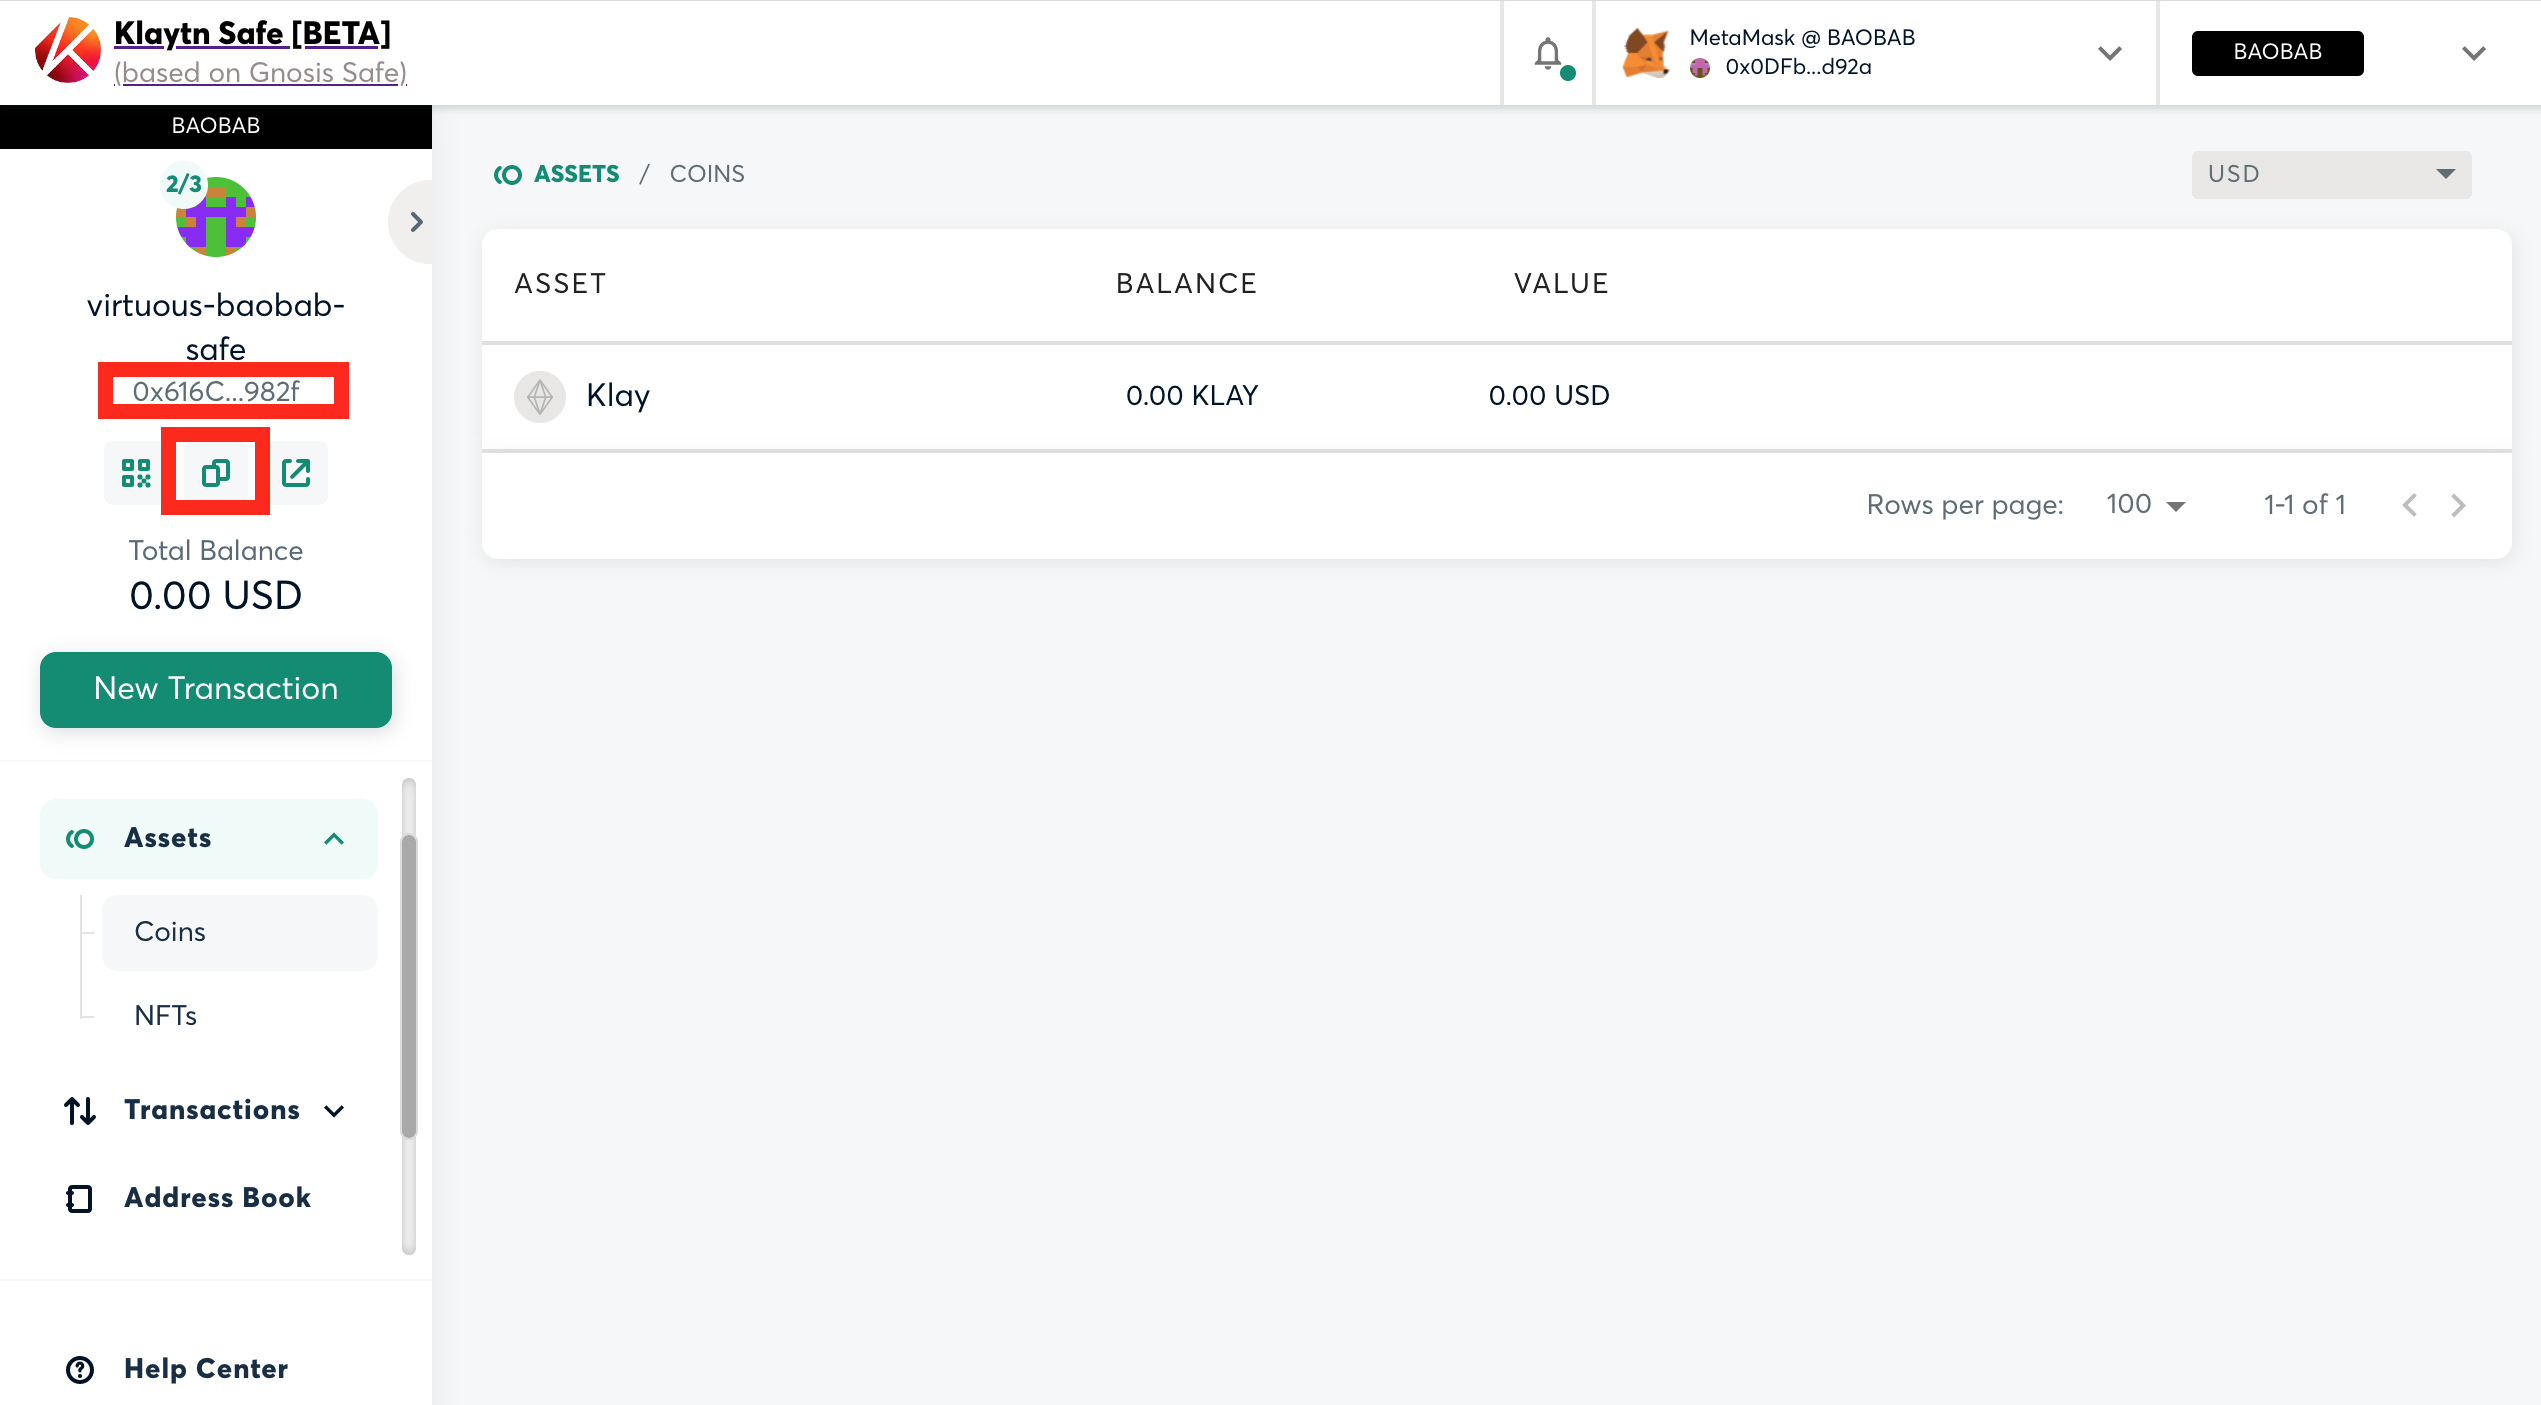
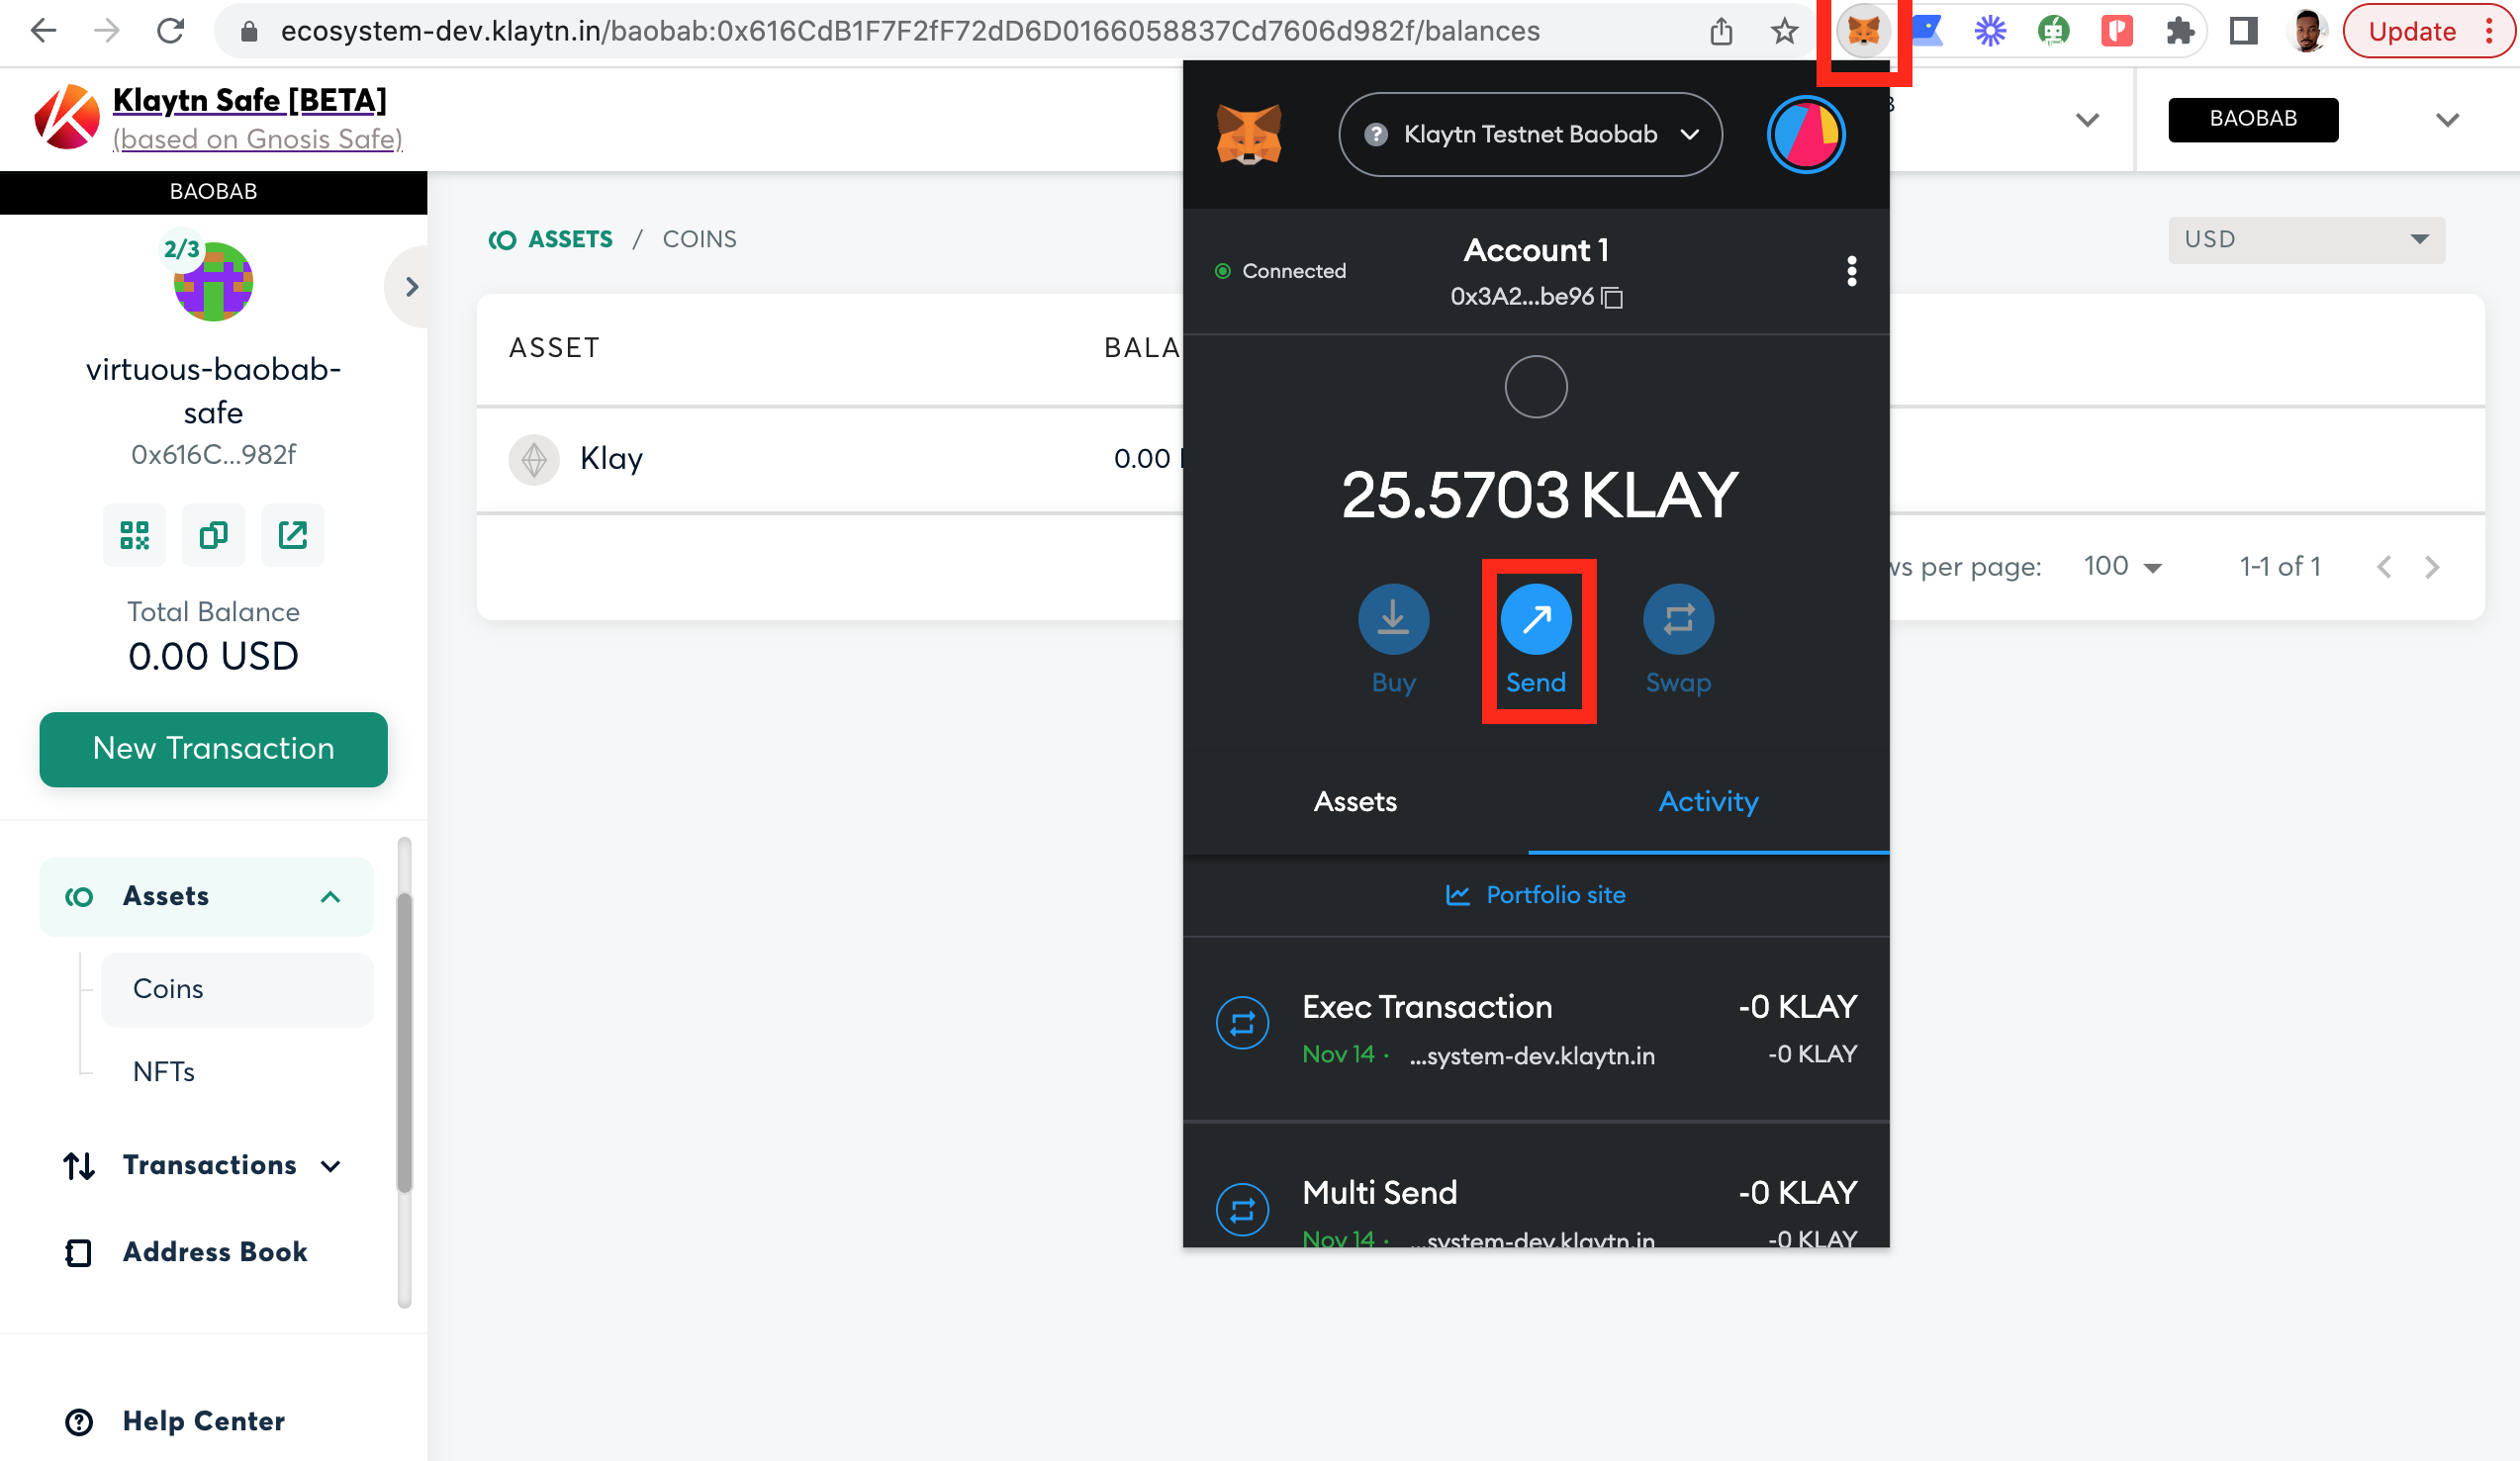
Step 2: Open your Metamask wallet and click "send” to send asset to your safe account. Note that there are different ways to send assets to your Safe account. You can send from your hardware wallet, web wallet, or even a smart contract. In this case, we're making use of a web wallet called MetaMask.
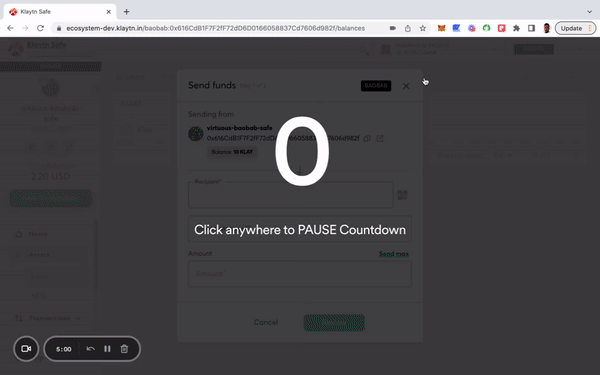
Step 3: Paste your safe address in the search field as seen below.
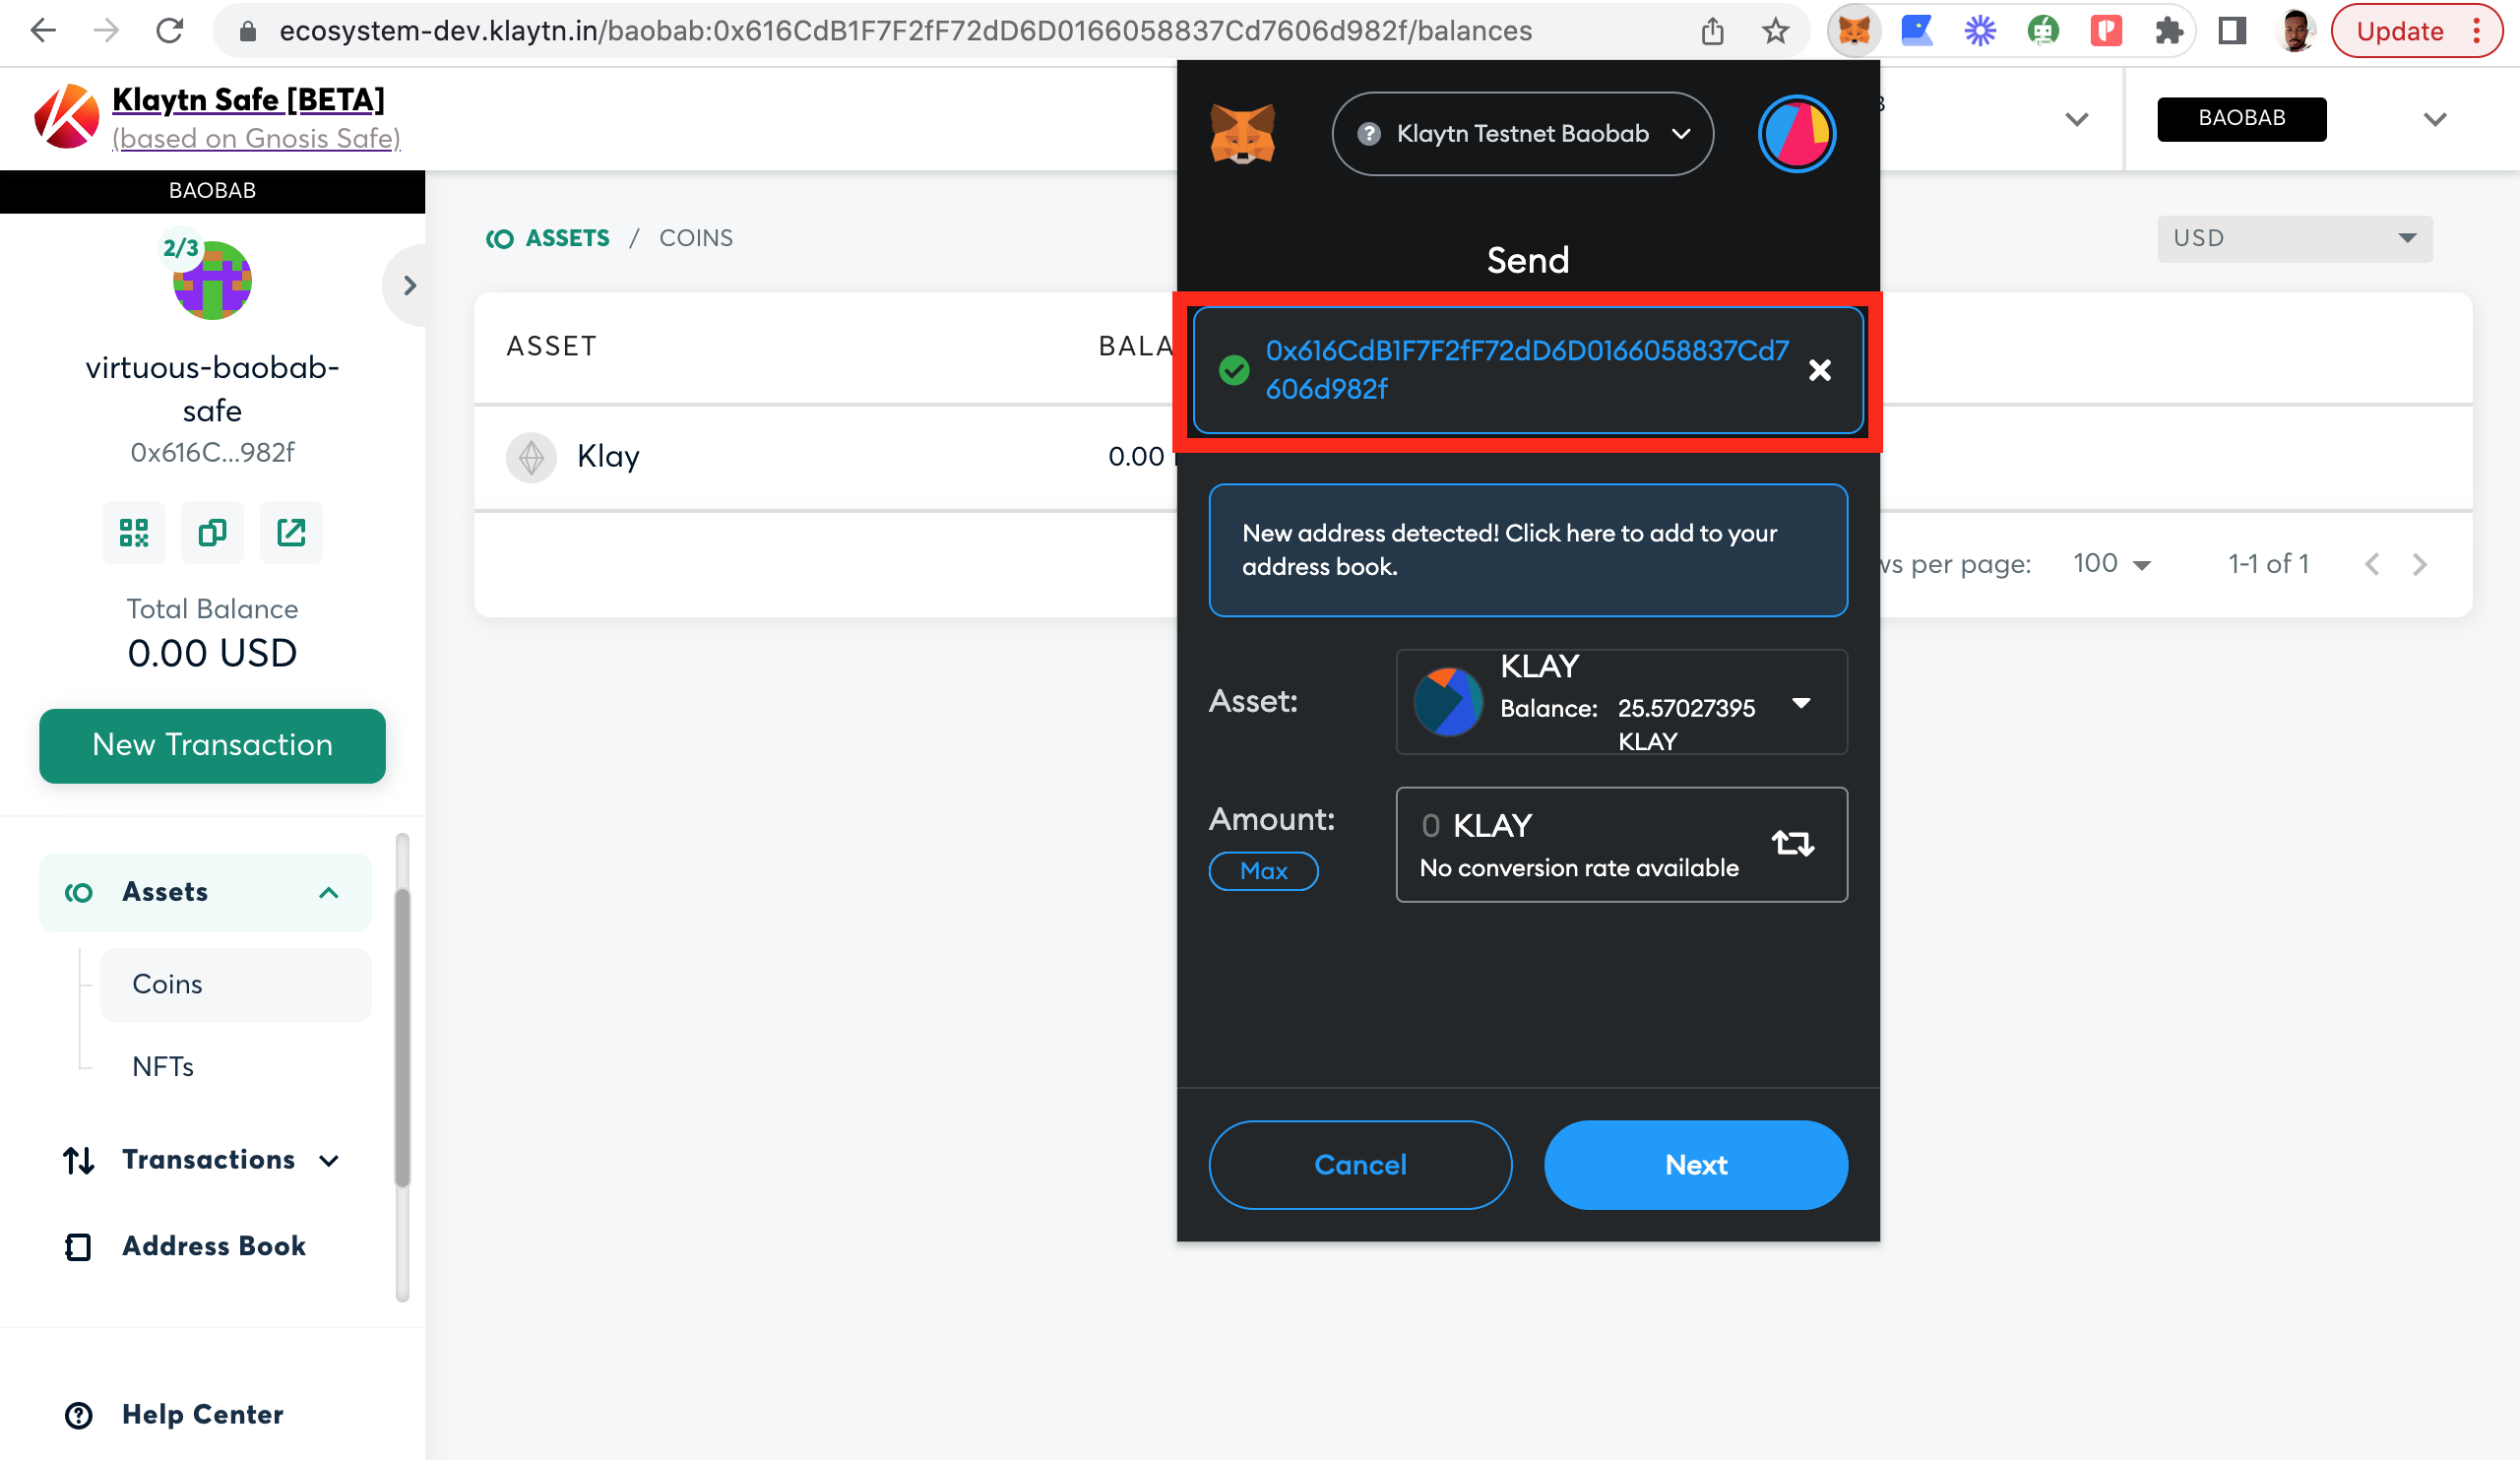
Step 4: Input amount and click next.

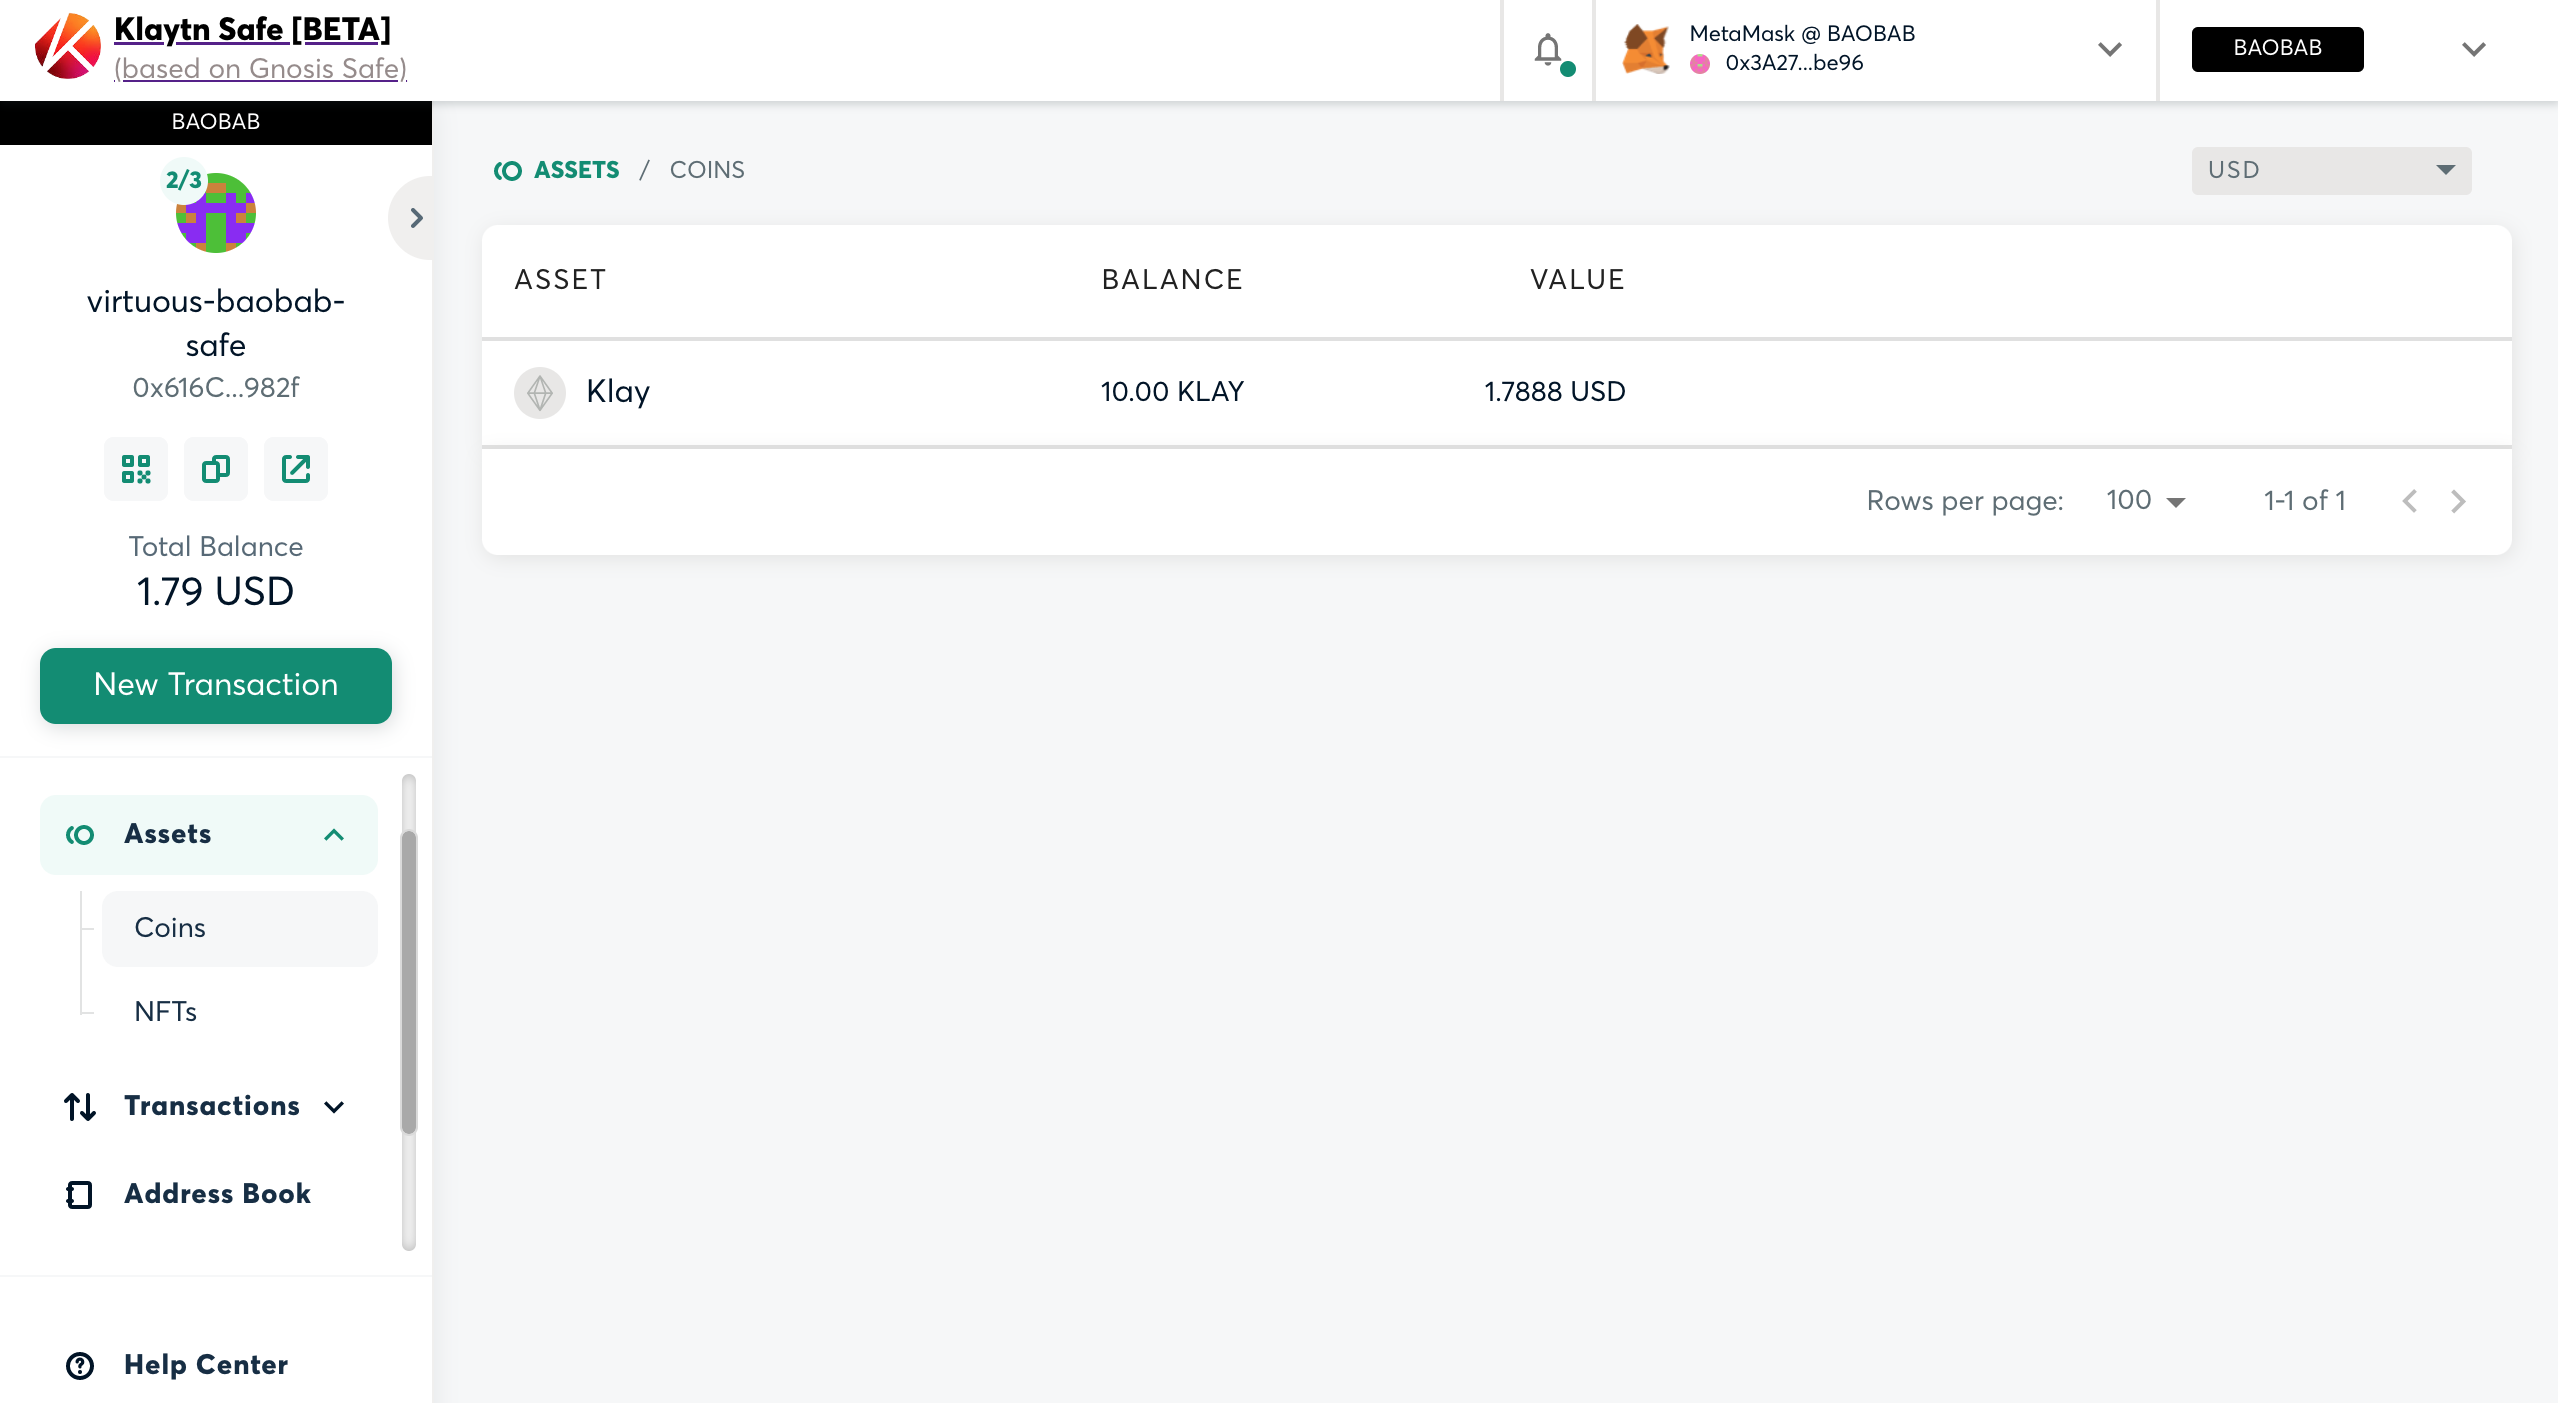
Step 5: Confirm the transaction and check your asset dashboard. You can see the amount being transferred from your metamask account to your Klaytn Safe account.
KIP-7 Deposits
Now we will see how to deposit KIP7 (fungible tokens) to our safe by following the below steps.
Step 1: Copy your Safe address from your account dashboard.
Step 2: Open your Metamask Wallet and navigate to “assets” tab.
Step 3: Select the token you will love to send and click “send”.
Step 4: Repeat step 3, 4, 5 of KLAY Deposits.
Step 5: View your assets dashboard, you can see the KIP7 tokens being transferred to your safe account. Similarly you can transfer any Fungible token to your safe account.
KIP-17 Tokens (NFTs)
Now we will see how to deposit KIP17 (Non Fungible tokens) to our safe by following the below steps.
You can transfer your NFT’s to your safe account in many different ways. Here is an example on how to transfer NFT to the safe account using OpenSea.
- Navigate to your OpenSea account profile page
- Navigate to an NFT you ll love to transfer. Make sure to select a NFT on the Klaytn Network(Cypress or Baobab)
- On the next page, click on the transfer button.
- Paste the safe address in the text box and transfer to safe
- Under Assets section in Klaytn Safe you can find NFT’s from OpenSea.
Please refer to this guide from OpenSea for more details on transferring NFTs.
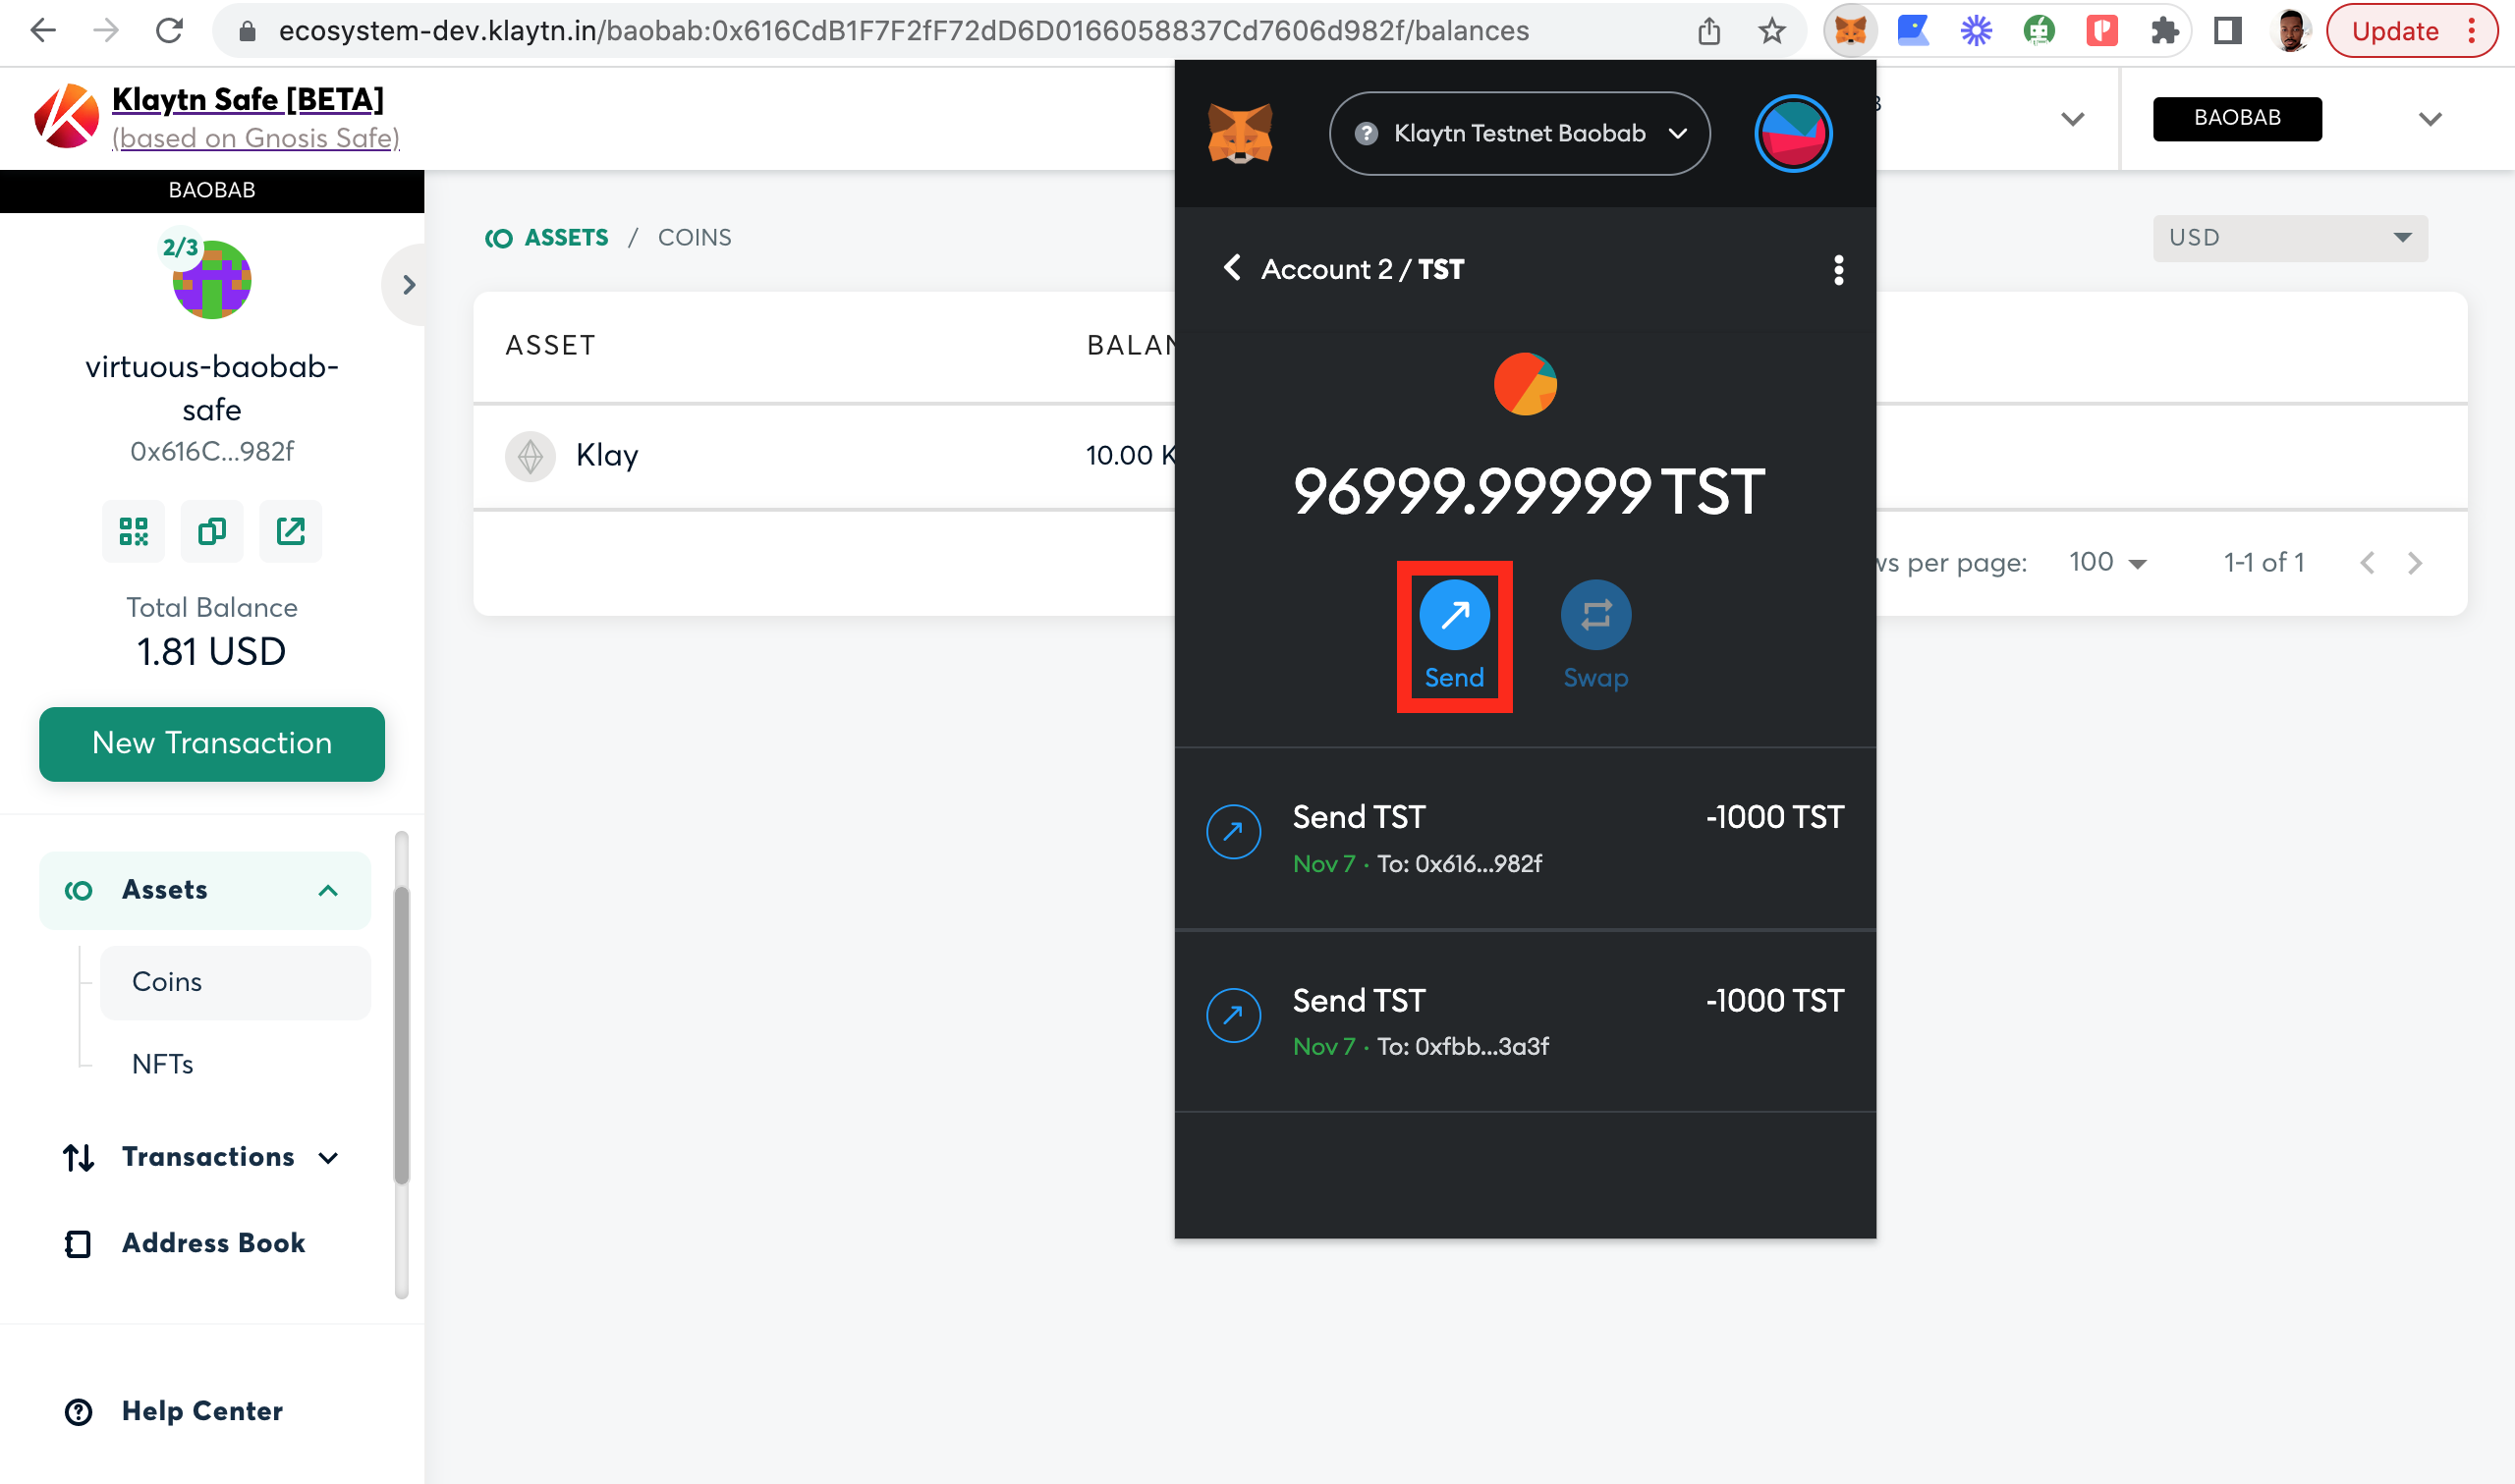
Send assets
In this section, you'll learn how to send KLAY and KIP-7 tokens from your Klaytn Safe account.
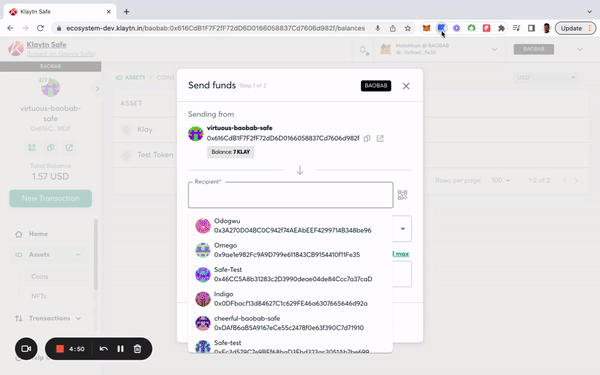
Send KLAY
Step 1: Click the "New Transaction" button in the side menu and select "Send funds" to begin a new asset transfer.

Step 2: Choose assets to transfer.
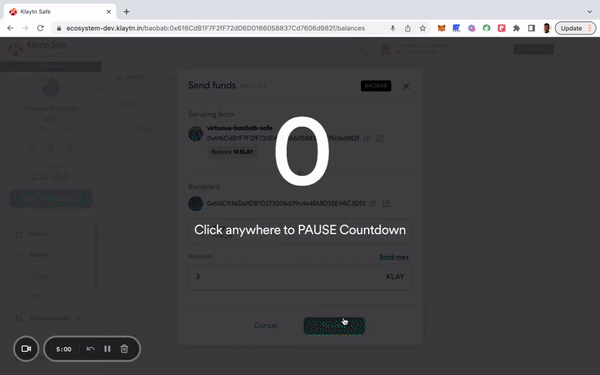
- KLAY Note: Add the recipient address and the amount of KLAY to send the transfer KLAY.
- KIP-7 Tokens Note: Add the recipient address and the number of tokens to transfer KIP7 tokens.
Step 3: Review and submit the transaction. You will need to sign the transaction with your signer wallet, and it will be executed once the confirmation threshold is reached.
Send NFTs
In this section, you'll learn how to send your non-fungible tokens from your Klaytn Safe account.
Step 1: Click the "New Transaction" button in the side menu and select "Send NFT" to begin a new asset transfer.
Step 2: Choose assets to transfer.
Step 3: Review and submit the transaction. You will need to sign the transaction with your signer wallet, and it will be executed once the confirmation threshold is reached.

Further Notes
The following are things you will want to keep in mind while using Klaytn Safe:
Transaction Fees
Klaytn Safe transactions, whether asset transfers or contract interactions, incur a fee that will be paid by the signer that executes the transaction (usually the last signer to reach the required threshold of signatures).
Safe Nonce
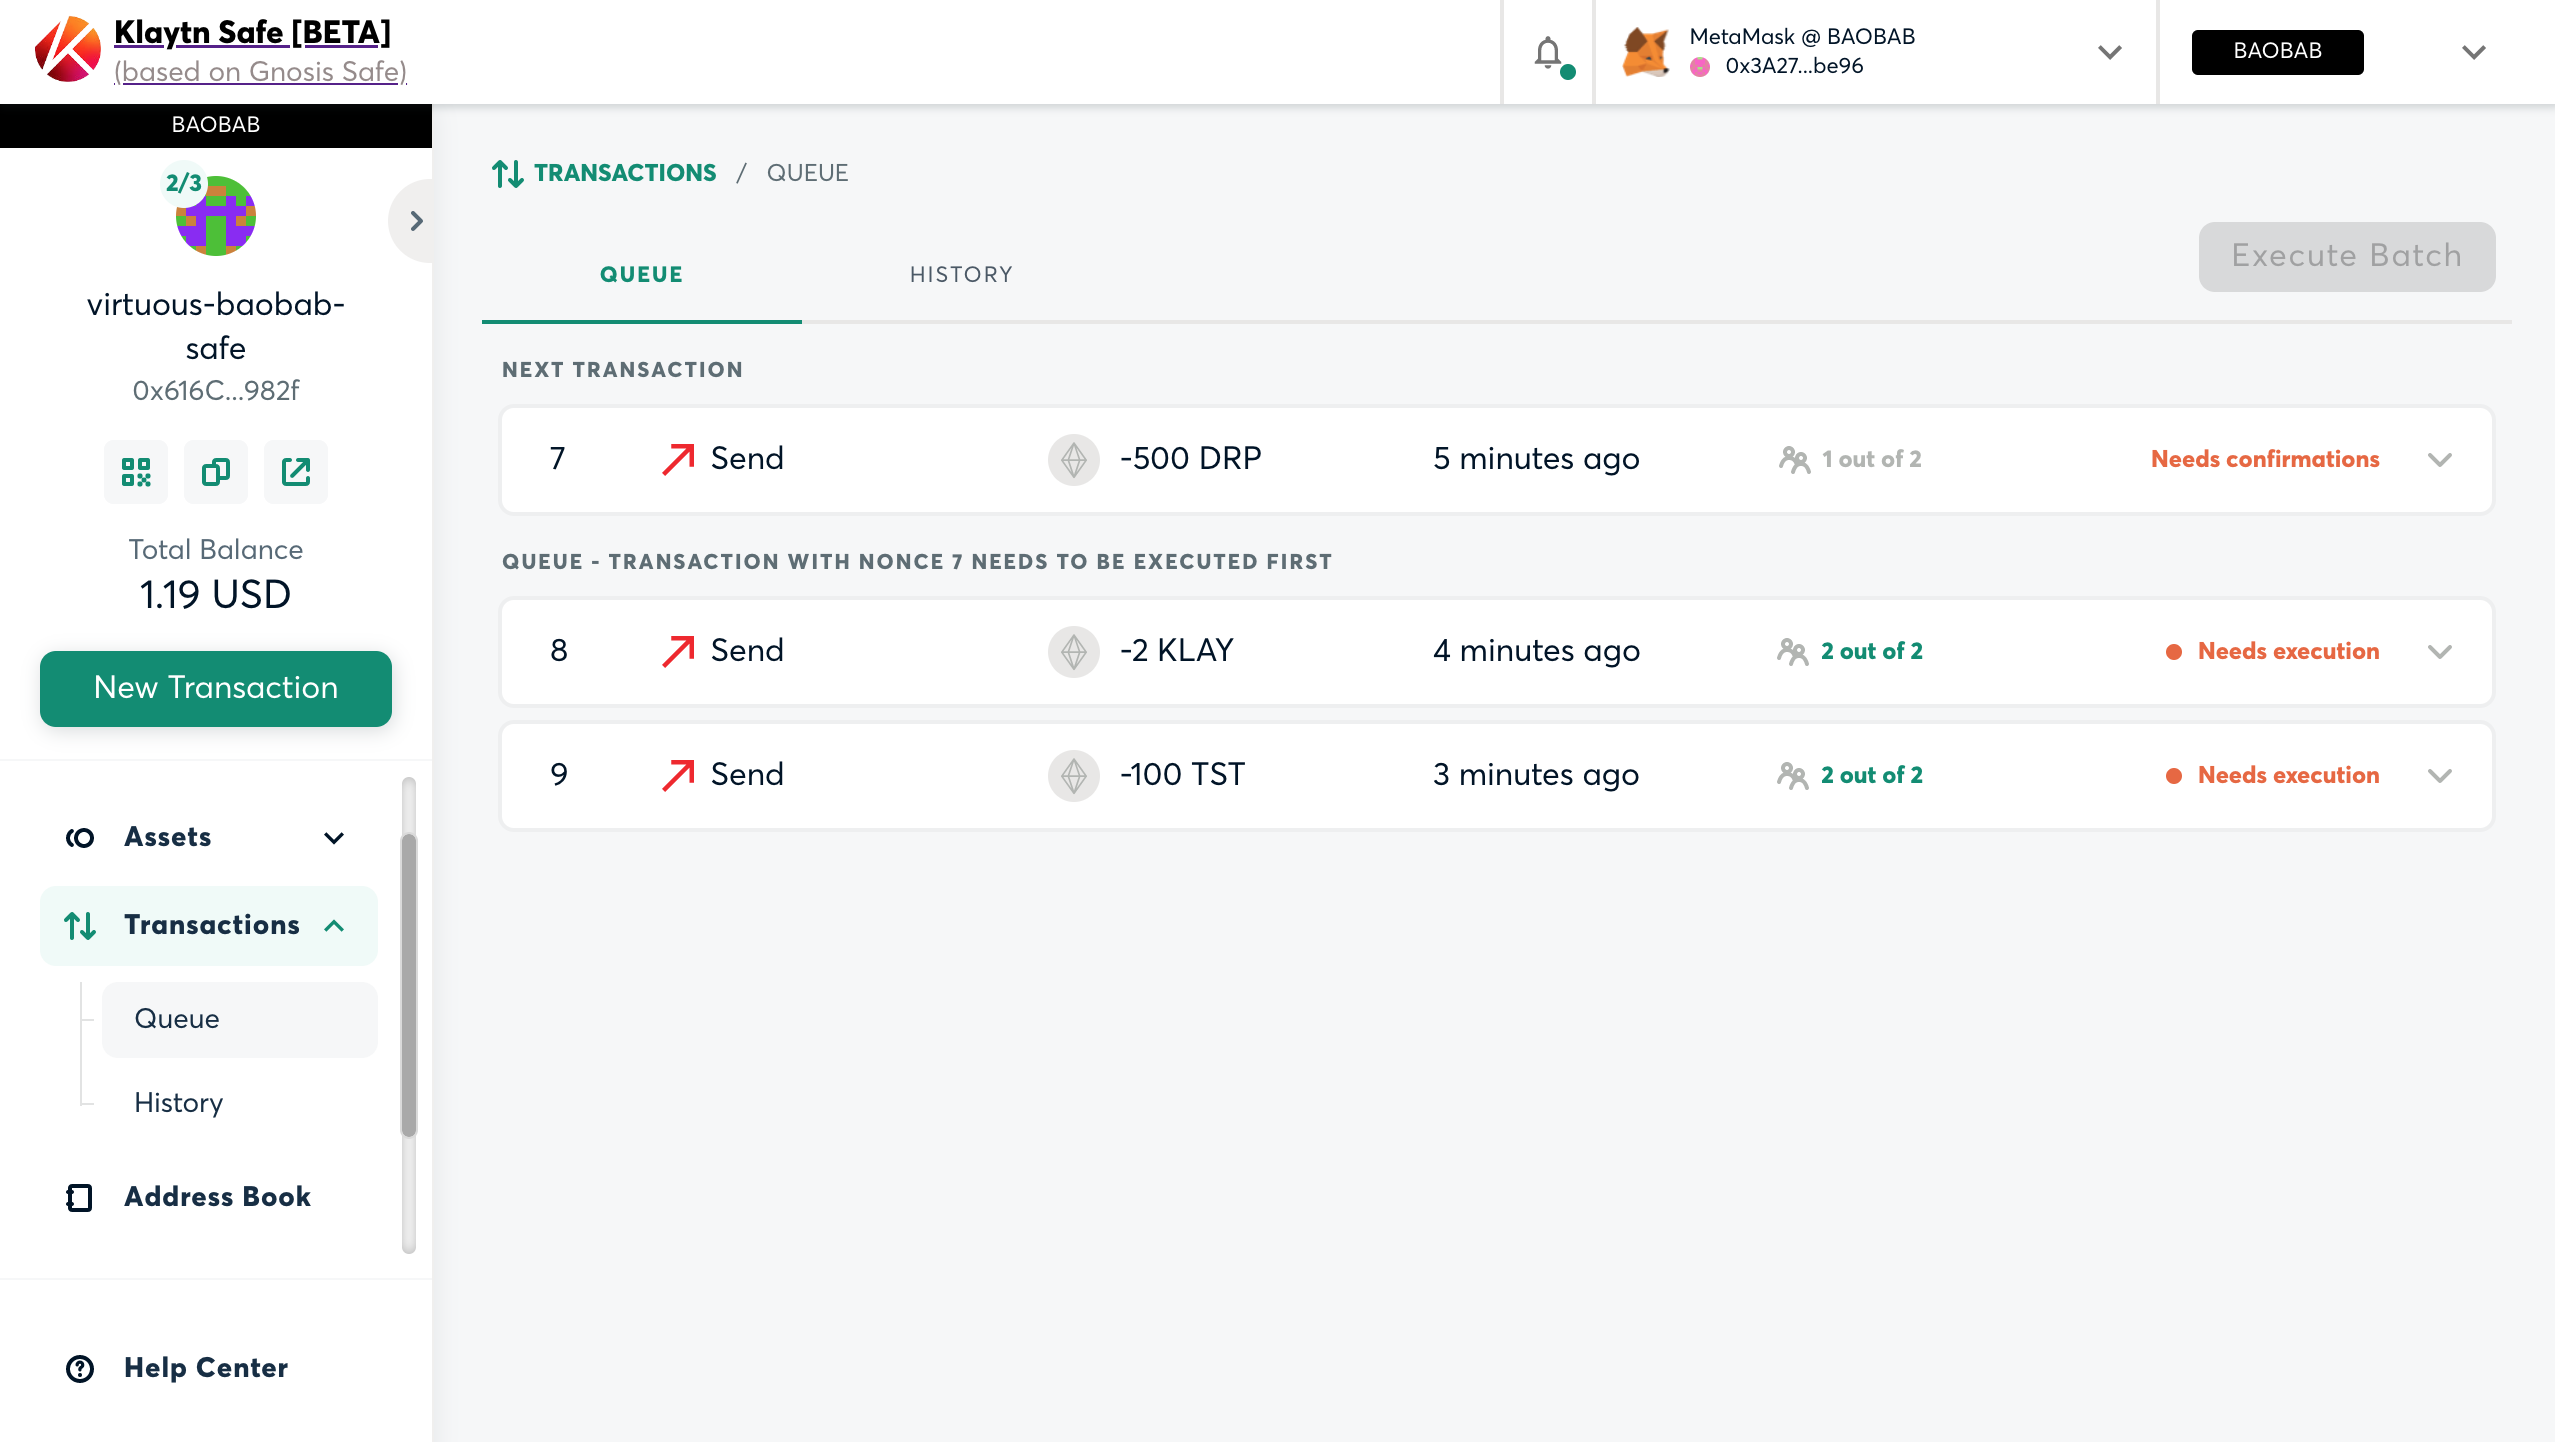
For security reasons, transactions made with Safe need to be executed in order. To achieve this, a number called nonce is assigned to a transaction to ensure that each transaction can be executed once.
At any given time, only transactions with a nonce last executed transaction +1 can be executed. Transactions with a higher nonce are queued for execution. So, whenever a transaction is completed, the next transaction in the queue is made available for execution, provided it has accumulated enough signatures.
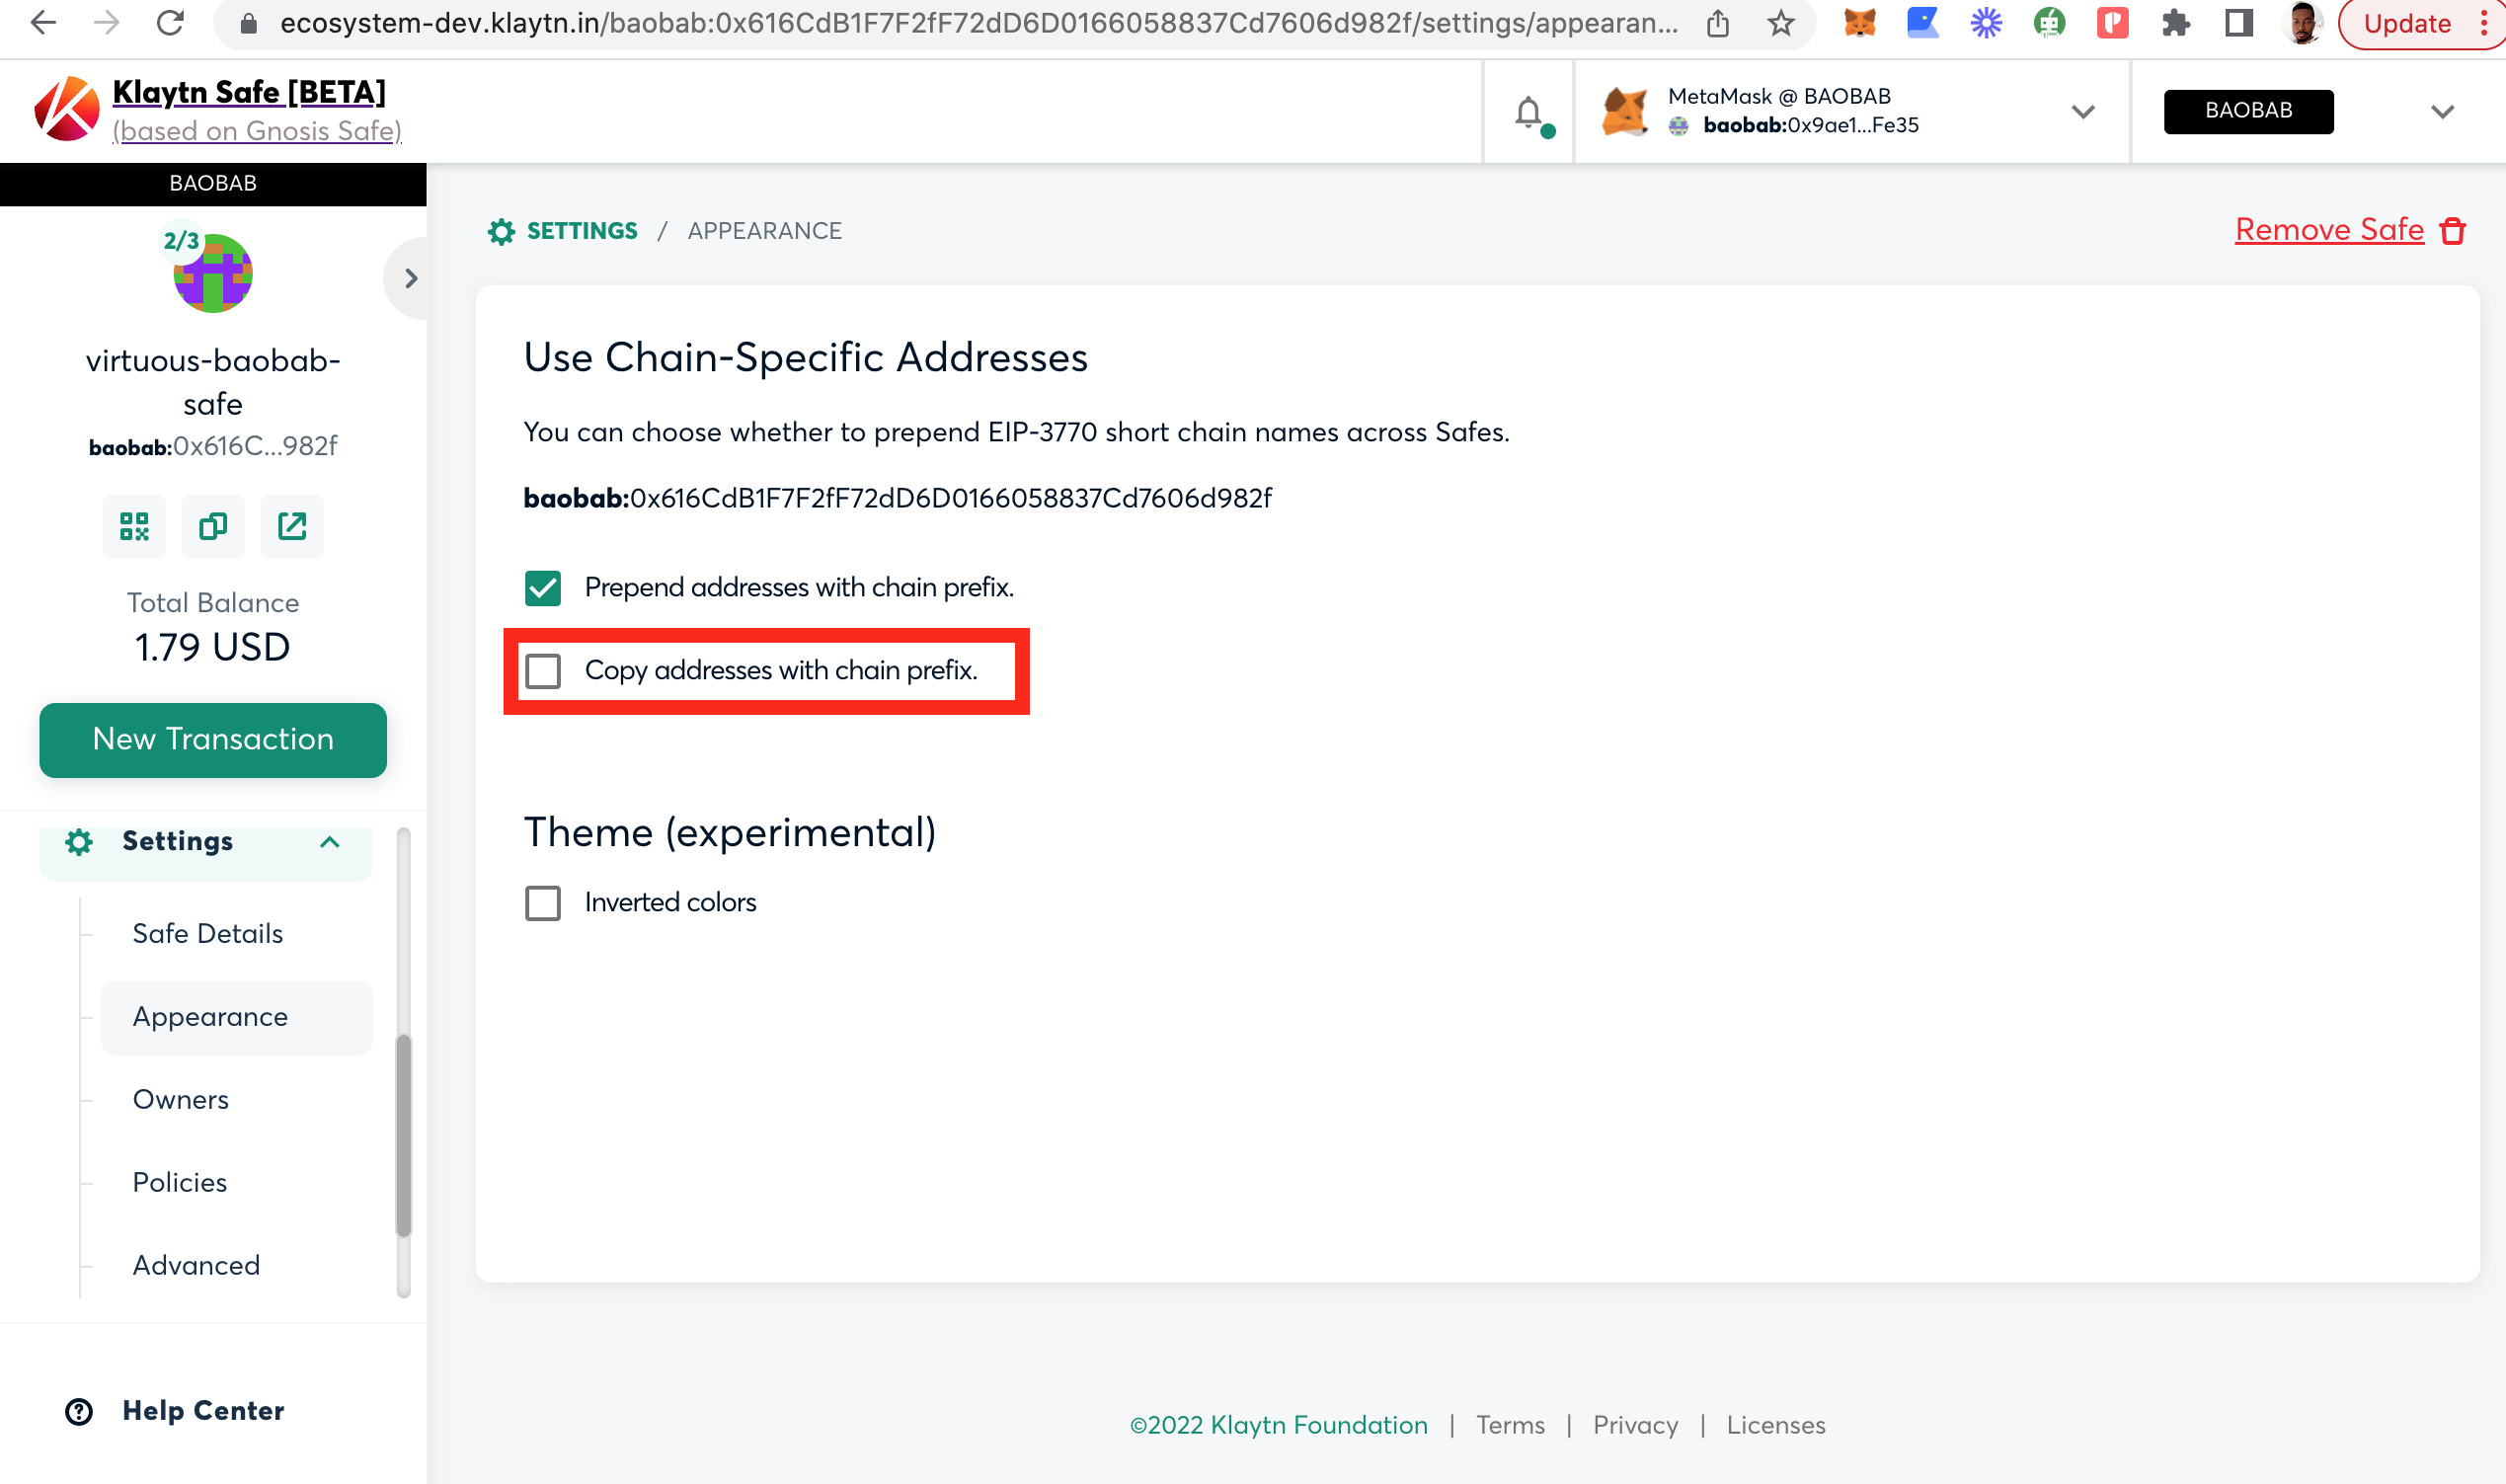
Chain-specific addresses
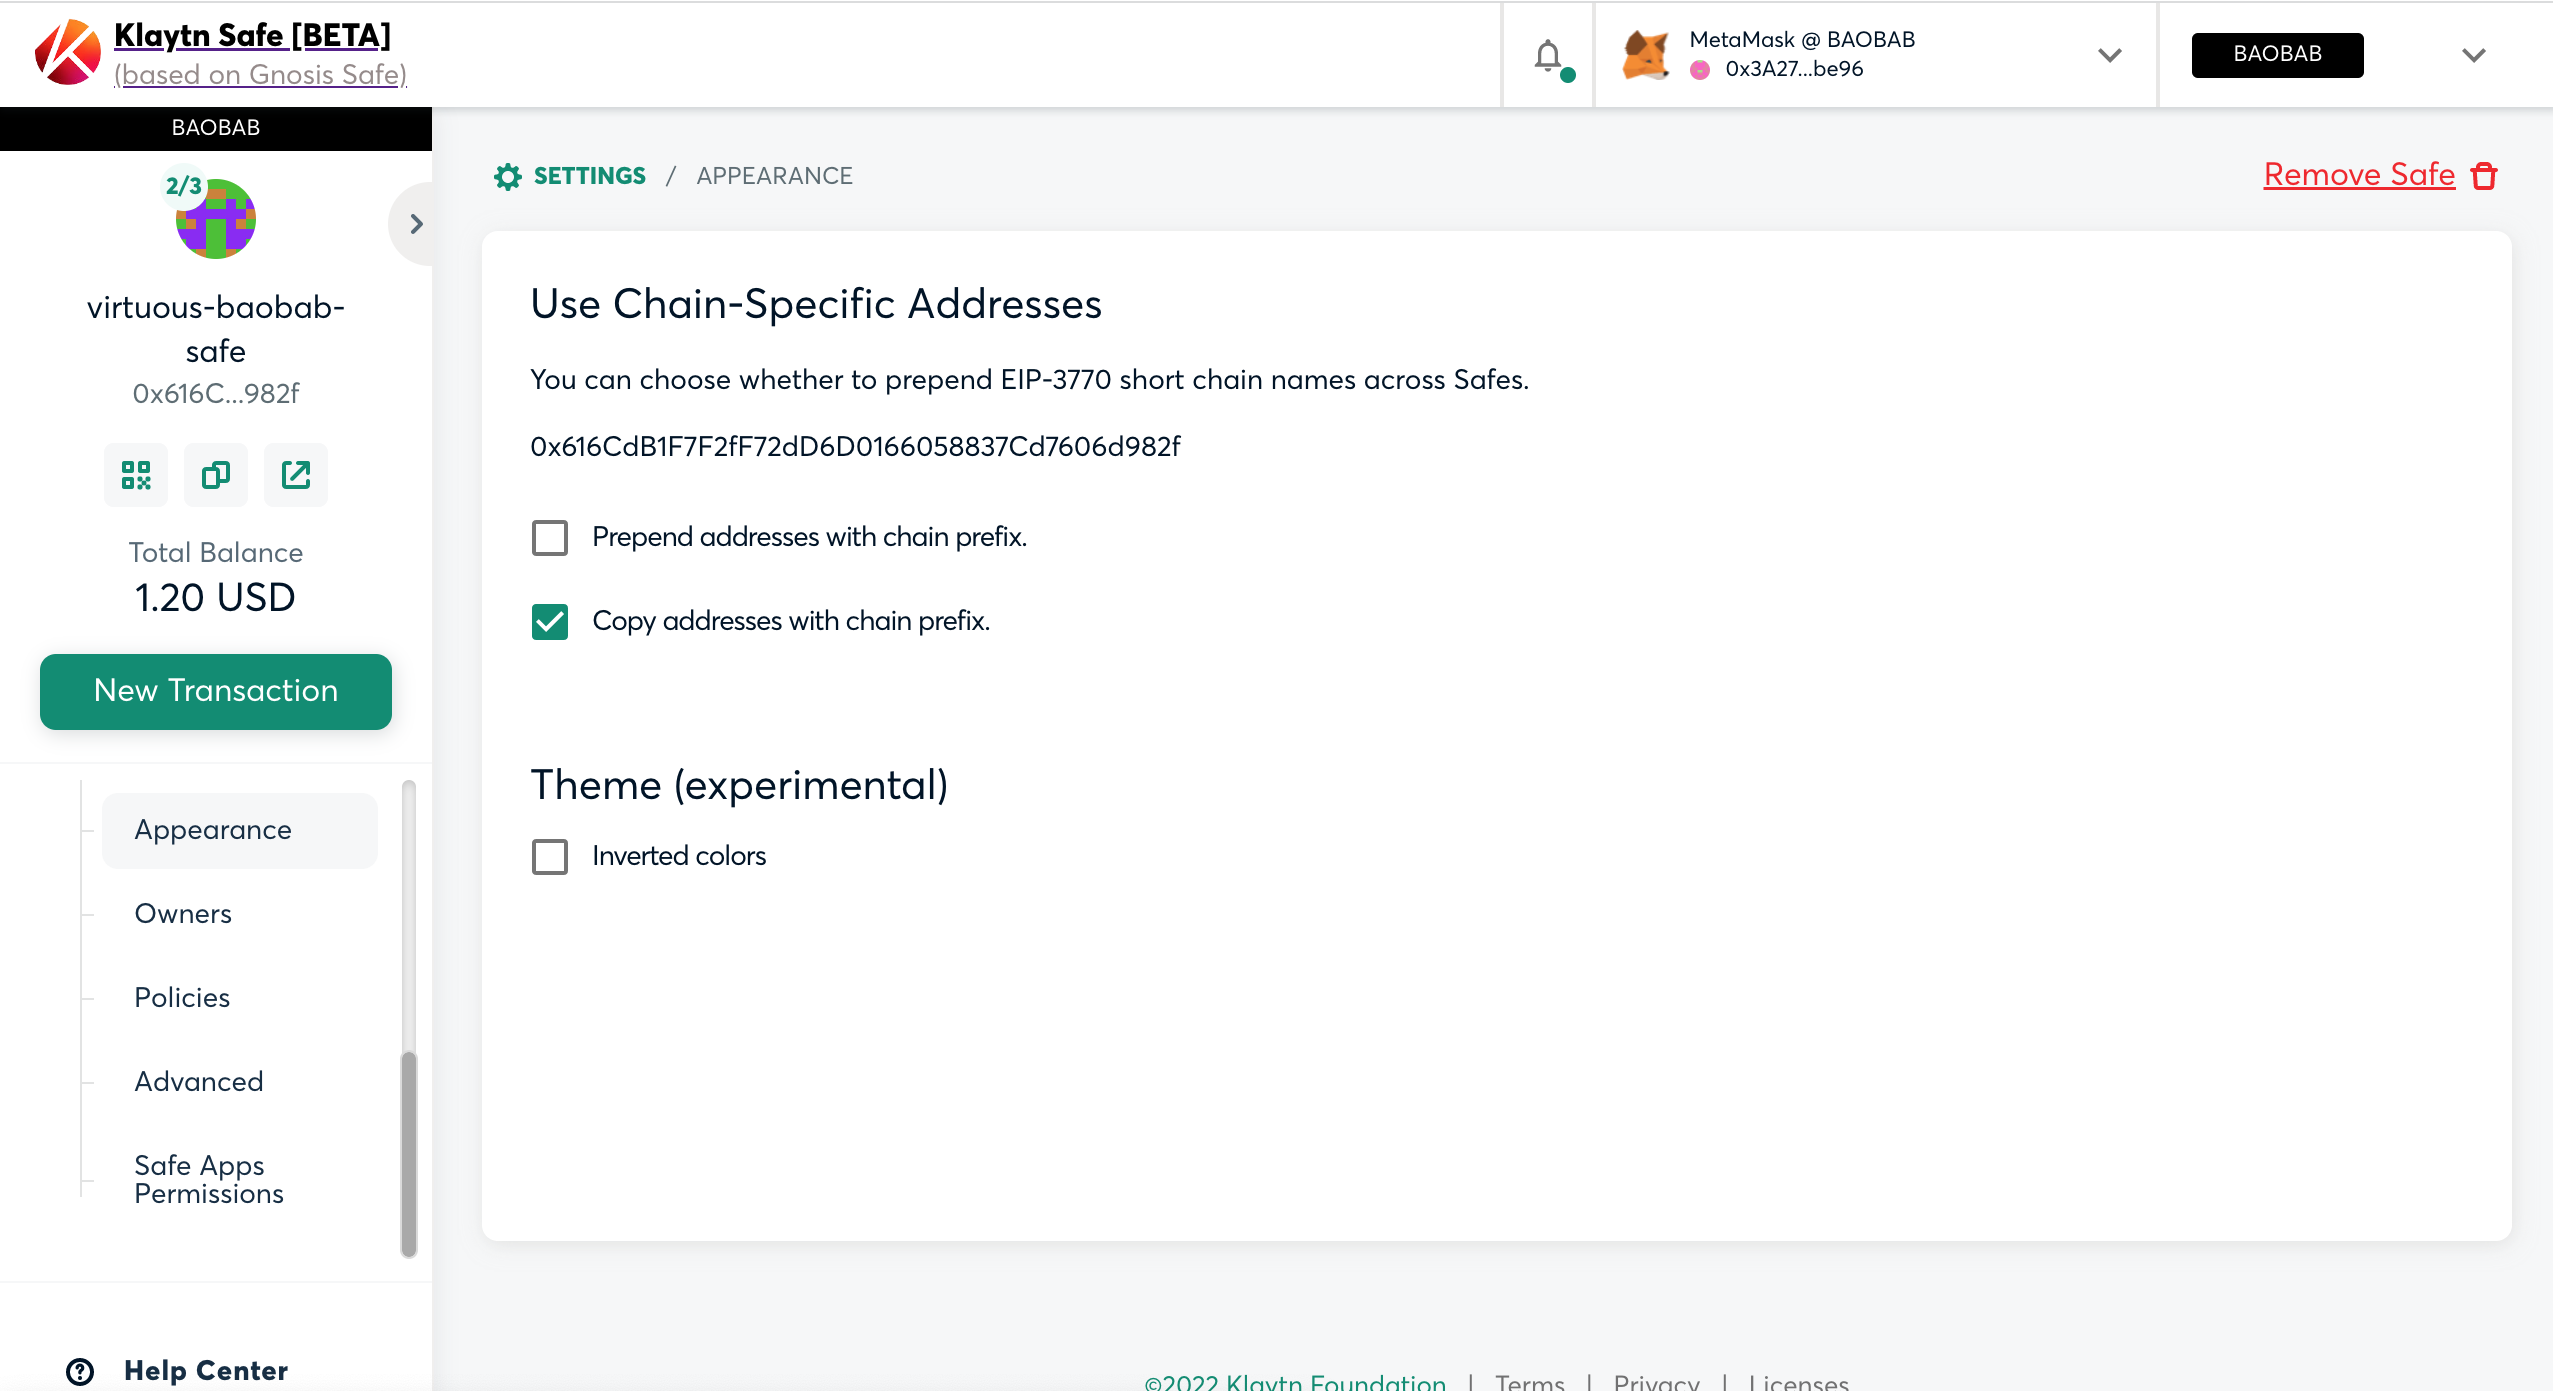
You can choose whether to prepend short chain names across Safes.
- Prepend addresses with chain prefix: You can prepend the chain name “baobab” to the address by clicking the first check box or otherwise.
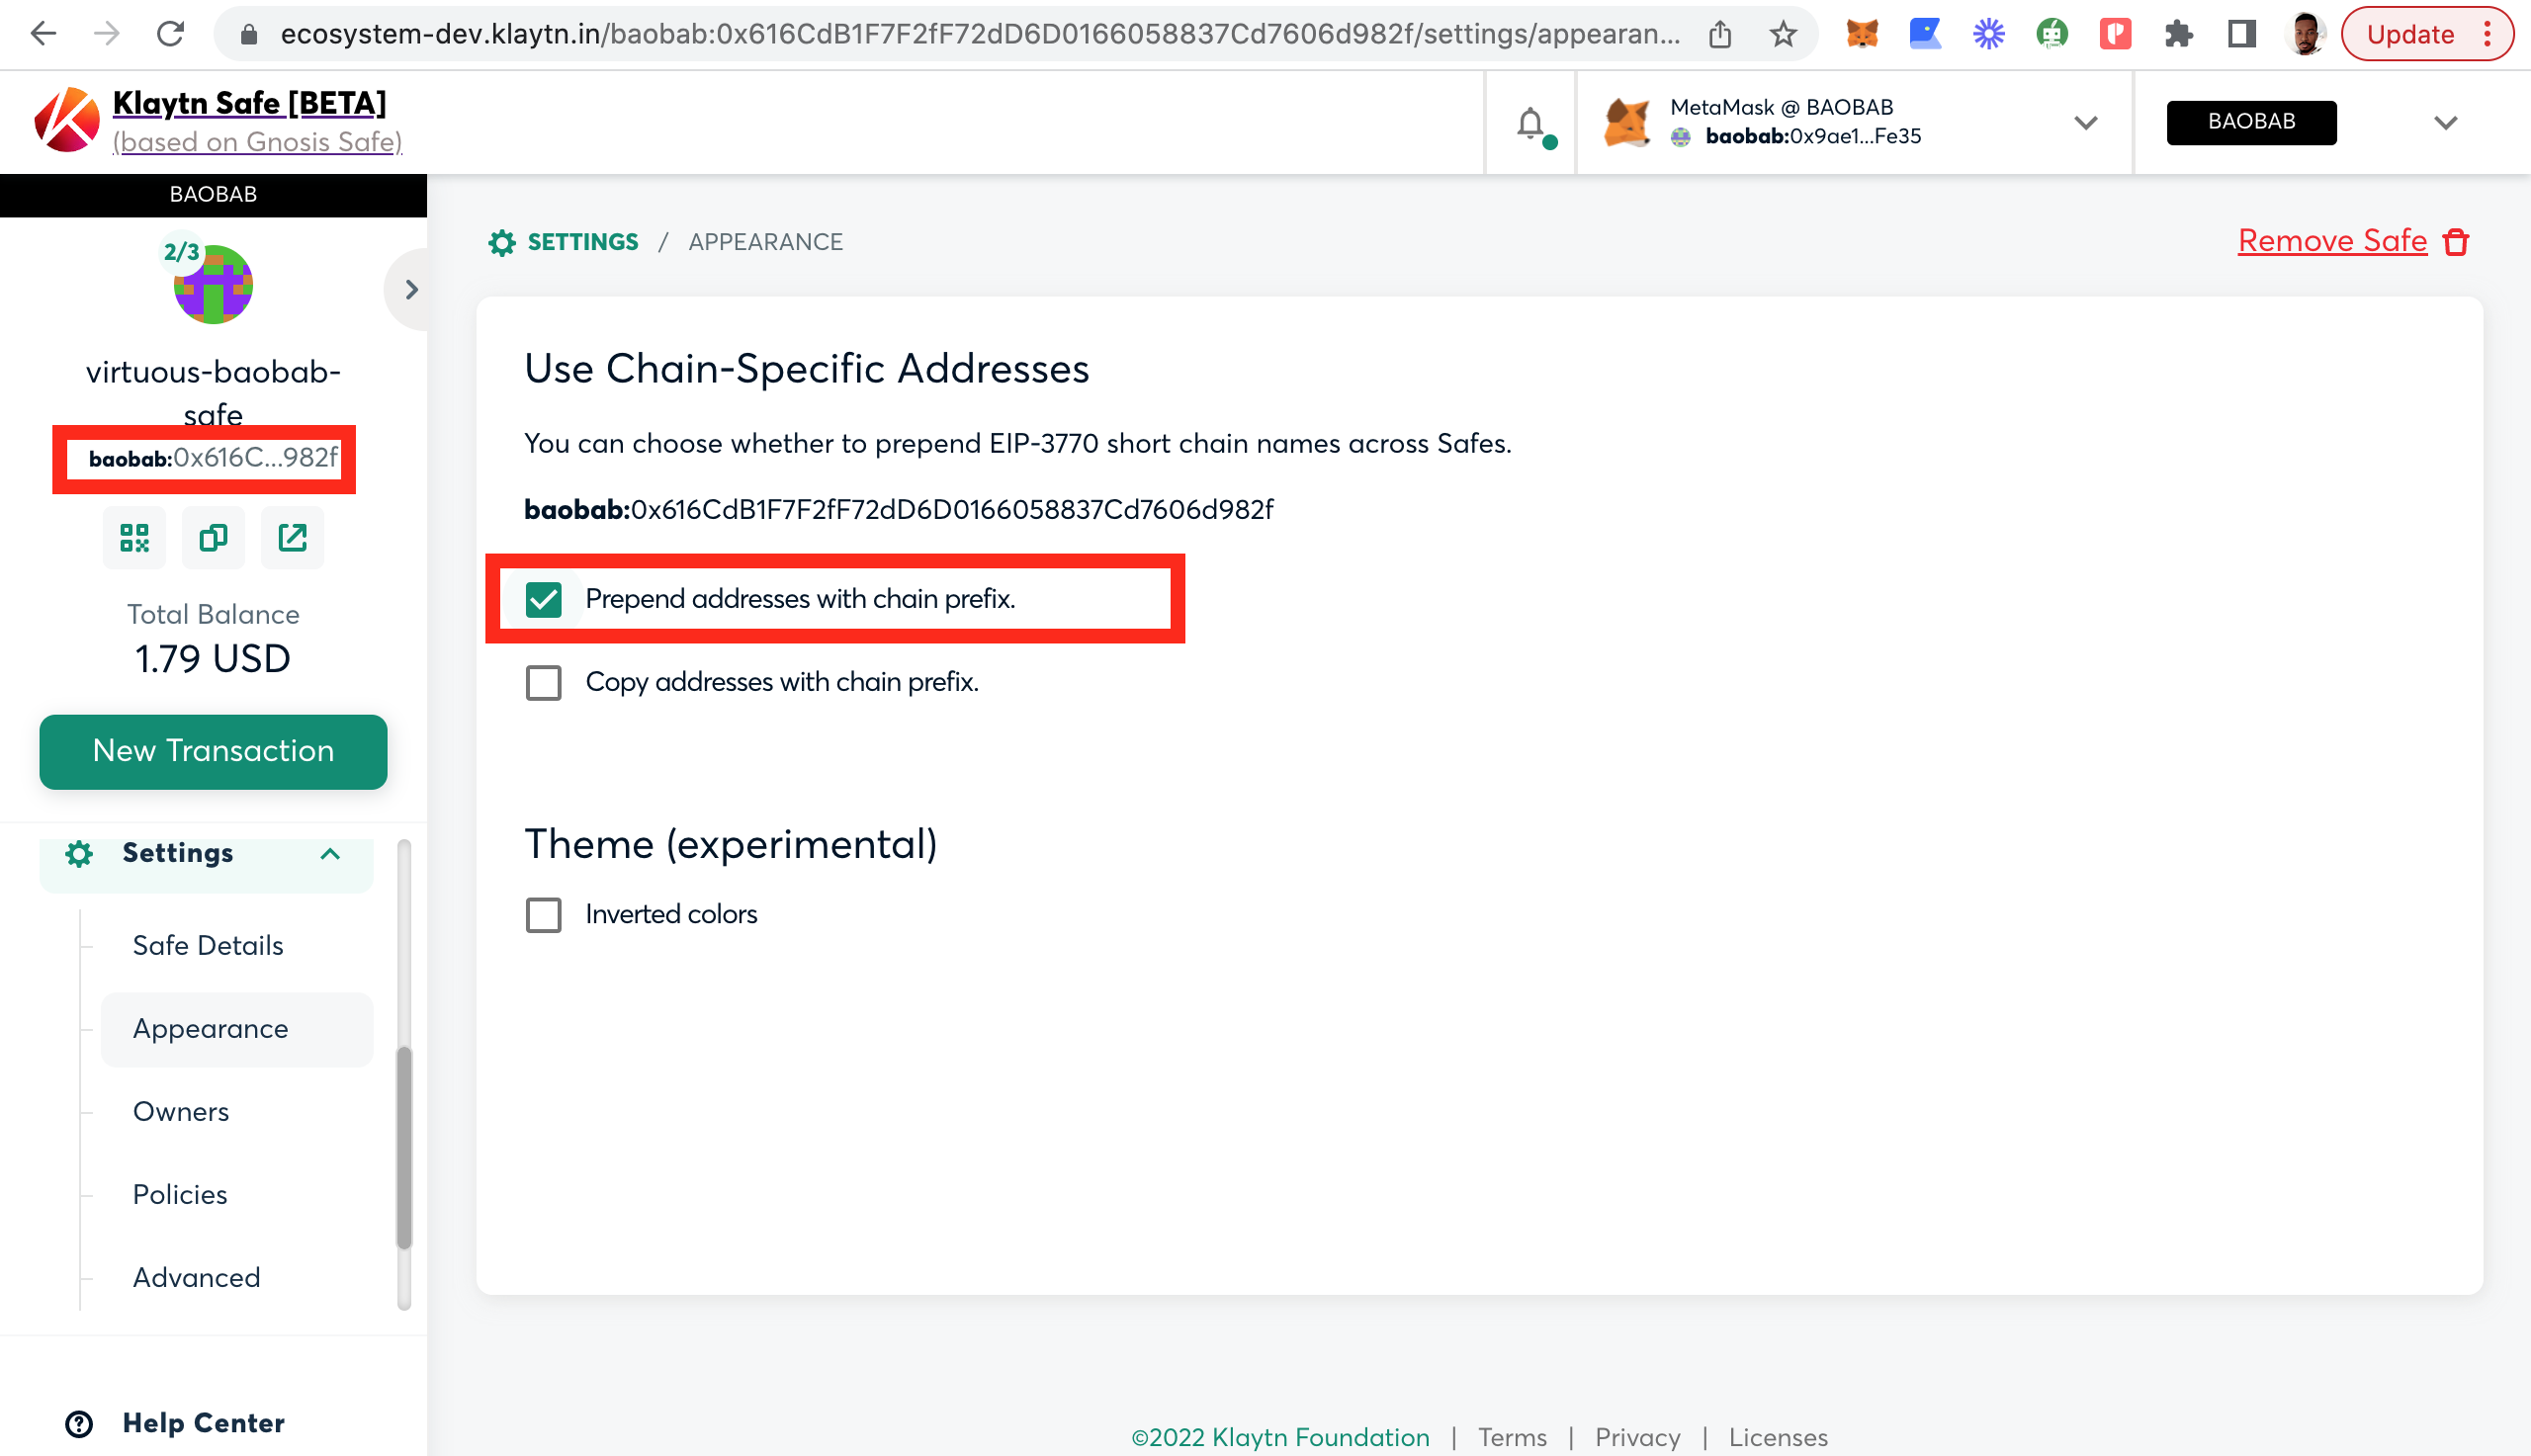
- Copy addresses with chain prefix:
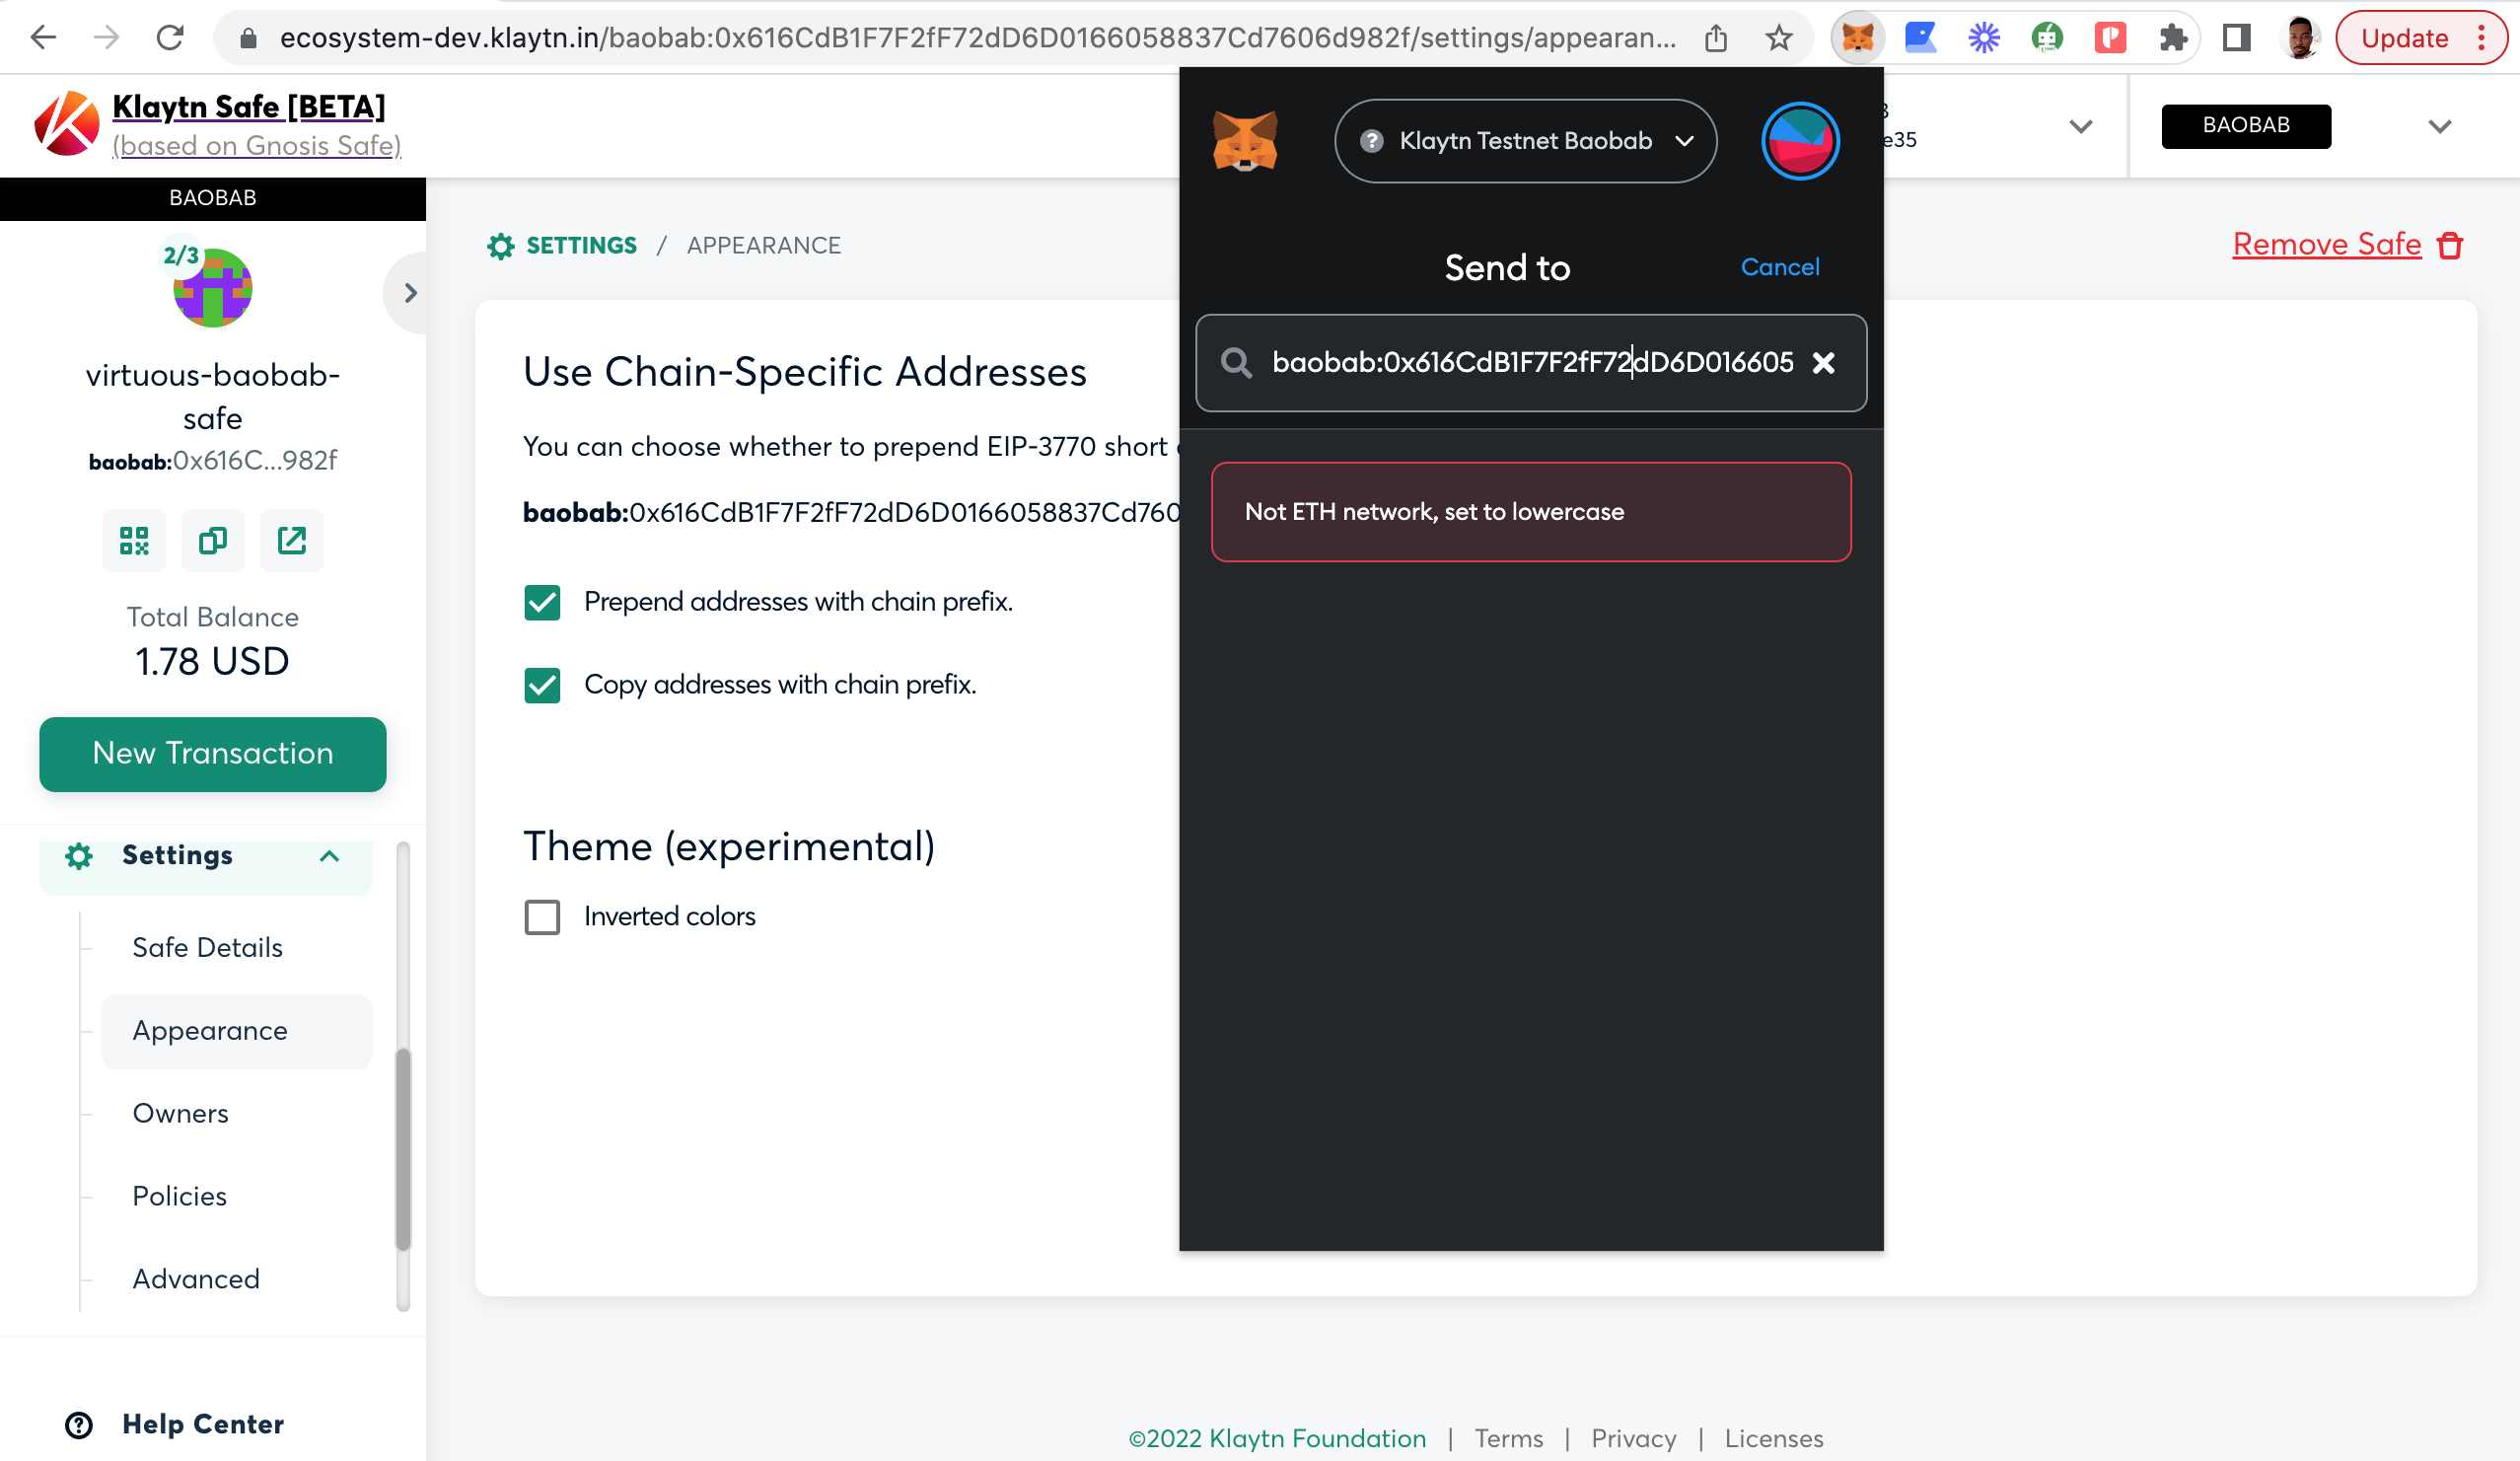
When copying your safe address from your dashboard to paste in your wallet as seen above, you can either choose to add the chain name or not by clicking the checkbox. It is suggested that you leave it unchecked to avoid the error above.