Deploy smart contracts
1. Clone Klaystagram DApp
1) Clone Klaystagram repository
$ git clone https://github.com/klaytn/klaystagram
2) Install & Run Klaystagram DApp
The package you just cloned is ready to launch without any modification.
The sample contracts are already deployed to the Baobab testnet, and the contract ABI is included in our package.
Klaystagram frontend code is initially configured to connect to the smart contract on the Baobab testnet.
If you want to run the app right away and see how it works, type below.
We HIGHLY recommend you follow the test environment mentioned on the first page.
$ npm install$ npm run local
⚠ Please check the file and directory permissions if it doesn't work.
Application will pop up right away! (It may take a long time to load lots of feed images at first.)
2. Write Klaystagram Smart Contract
- Background
- Contract setup
- Set events and data structure
- Write functions
4.1.uploadPhoto
4.2.transferOwnership
4.3.getPhoto
1) Background
We will make a simple contract called "Klaystagram".
PhotoDatastruct is defined to store various photo data.- User can upload photo and transfer the ownership photo via
uploadPhotoandtransferOwnershipfunctions.
2) Contract setup
- Specify solidity version. We recommend using 0.5.6 stable version.
- We will make use of ERC721 standard to build non-fungible tokens.
- Import
ERC721.solandERC721Enumerable.sol - Check out detailed information about ERC721 at erc721.org
- Import
pragma solidity 0.5.6;import "./ERC721/ERC721.sol";import "./ERC721/ERC721Enumerable.sol";contract Klaystagram is ERC721, ERC721Enumerable {
3) Set events and data structure
We need to set up an event to keep track of activities on blockchain.
As for data structure, mapping _photoList takes a uint256 tokenId to map a specific PhotoData struct. By defining PhotoUploaded event, transaction receipt will log this event whenever function containing this is called.
event PhotoUploaded (uint indexed tokenId, bytes photo, string title, string location, string description, uint256 timestamp);mapping (uint256 => PhotoData) private _photoList;struct PhotoData { uint256 tokenId; // Unique token id, starts from 1 and increases by 1 address[] ownerHistory; // History of all previous owners bytes photo; // Image source string title; // Title of photo string location; // Location where photo is taken string description; // Short description about the photo uint256 timestamp; // Uploaded time}
4) Write functions
Let's write some functions that interact with the contract. In this tutorial let us only consider two functions: uploadPhoto and transferOwnership. Check out Klaystagram.sol to see the whole set of functions.
4-1) uploadPhoto
uploadPhoto function takes 4 arguments including photo's image source. To keep things simple, tokenId will start from 1 and will increase by 1.
_mint function is from ERC721 contract. It creates a new token and assign it to a specific address, which in this case, msg.sender. In this application, logged in user will create transaction with their own private key. So msg.sender will be the user's public address.
Finally, initialize PhotoData struct, locate it inside _photoList mapping, and push the owner address into ownerHistory array. And don't forget to emit the event we just created. As mentioned above, this event will be included in transaction receipt.
function uploadPhoto(bytes memory photo, string memory title, string memory location, string memory description) public { uint256 tokenId = totalSupply() + 1; _mint(msg.sender, tokenId); address[] memory ownerHistory; PhotoData memory newPhotoData = PhotoData({ tokenId : tokenId, ownerHistory : ownerHistory, photo : photo, title: title, location : location, description : description, timestamp : now }); _photoList[tokenId] = newPhotoData; _photoList[tokenId].ownerHistory.push(msg.sender); emit PhotoUploaded(tokenId, photo, title, location, description, now);}
4-2) transferOwnership
Let's take a look at transferOwnership function. When transferring photo ownership, we need to do two things. First, we have to reassign the owner, and then we have to push new owner address into ownerHistory array.
To do this, transferOwnership first calls safeTransferFrom function from ERC721 standard, which eventually calls transferFrom function. As mentioned above, right after token transfer is successfully done, we have to push new owner information into ownerHistory array, and that is exactly why transferFrom is overridden as below.
/** * @notice safeTransferFrom function checks whether receiver is able to handle ERC721 tokens, * thus less possibility of tokens being lost. After checking is done, it will call transferFrom function defined below */function transferOwnership(uint256 tokenId, address to) public returns(uint, address, address, address) { safeTransferFrom(msg.sender, to, tokenId); uint ownerHistoryLength = _photoList[tokenId].ownerHistory.length; return ( _photoList[tokenId].tokenId, //original owner _photoList[tokenId].ownerHistory[0], //previous owner, length cannot be less than 2 _photoList[tokenId].ownerHistory[ownerHistoryLength-2], //current owner _photoList[tokenId].ownerHistory[ownerHistoryLength-1]);}/** * @notice Recommend using transferOwnership, which uses safeTransferFrom function * @dev Override transferFrom function to make sure that every time ownership transfers * new owner address gets pushed into ownerHistory array */function transferFrom(address from, address to, uint256 tokenId) public { super.transferFrom(from, to, tokenId); _photoList[tokenId].ownerHistory.push(to);}
4-3) getPhoto
Finally, let's make a getter function that fetches data stored in the smart contract. By calling a single function, we want to fetch every information regarding a specific photo. So getPhoto function takes an index(token id) as an argument and returns every element in PhotoData struct.
function getPhoto(uint tokenId) public viewreturns(uint256, address[] memory, bytes memory, string memory, string memory, string memory, uint256) { require(_photoList[tokenId].tokenId != 0, "Photo does not exist"); return ( _photoList[tokenId].tokenId, _photoList[tokenId].ownerHistory, _photoList[tokenId].photo, _photoList[tokenId].title, _photoList[tokenId].location, _photoList[tokenId].description, _photoList[tokenId].timestamp);}
This is it, now we can deploy this contract!
3. Deploy Contract
- Get some testnet KLAY to deploy contract
- Truffle configuration
- Deploy setup (select contract which you want to deploy)
- Deploy
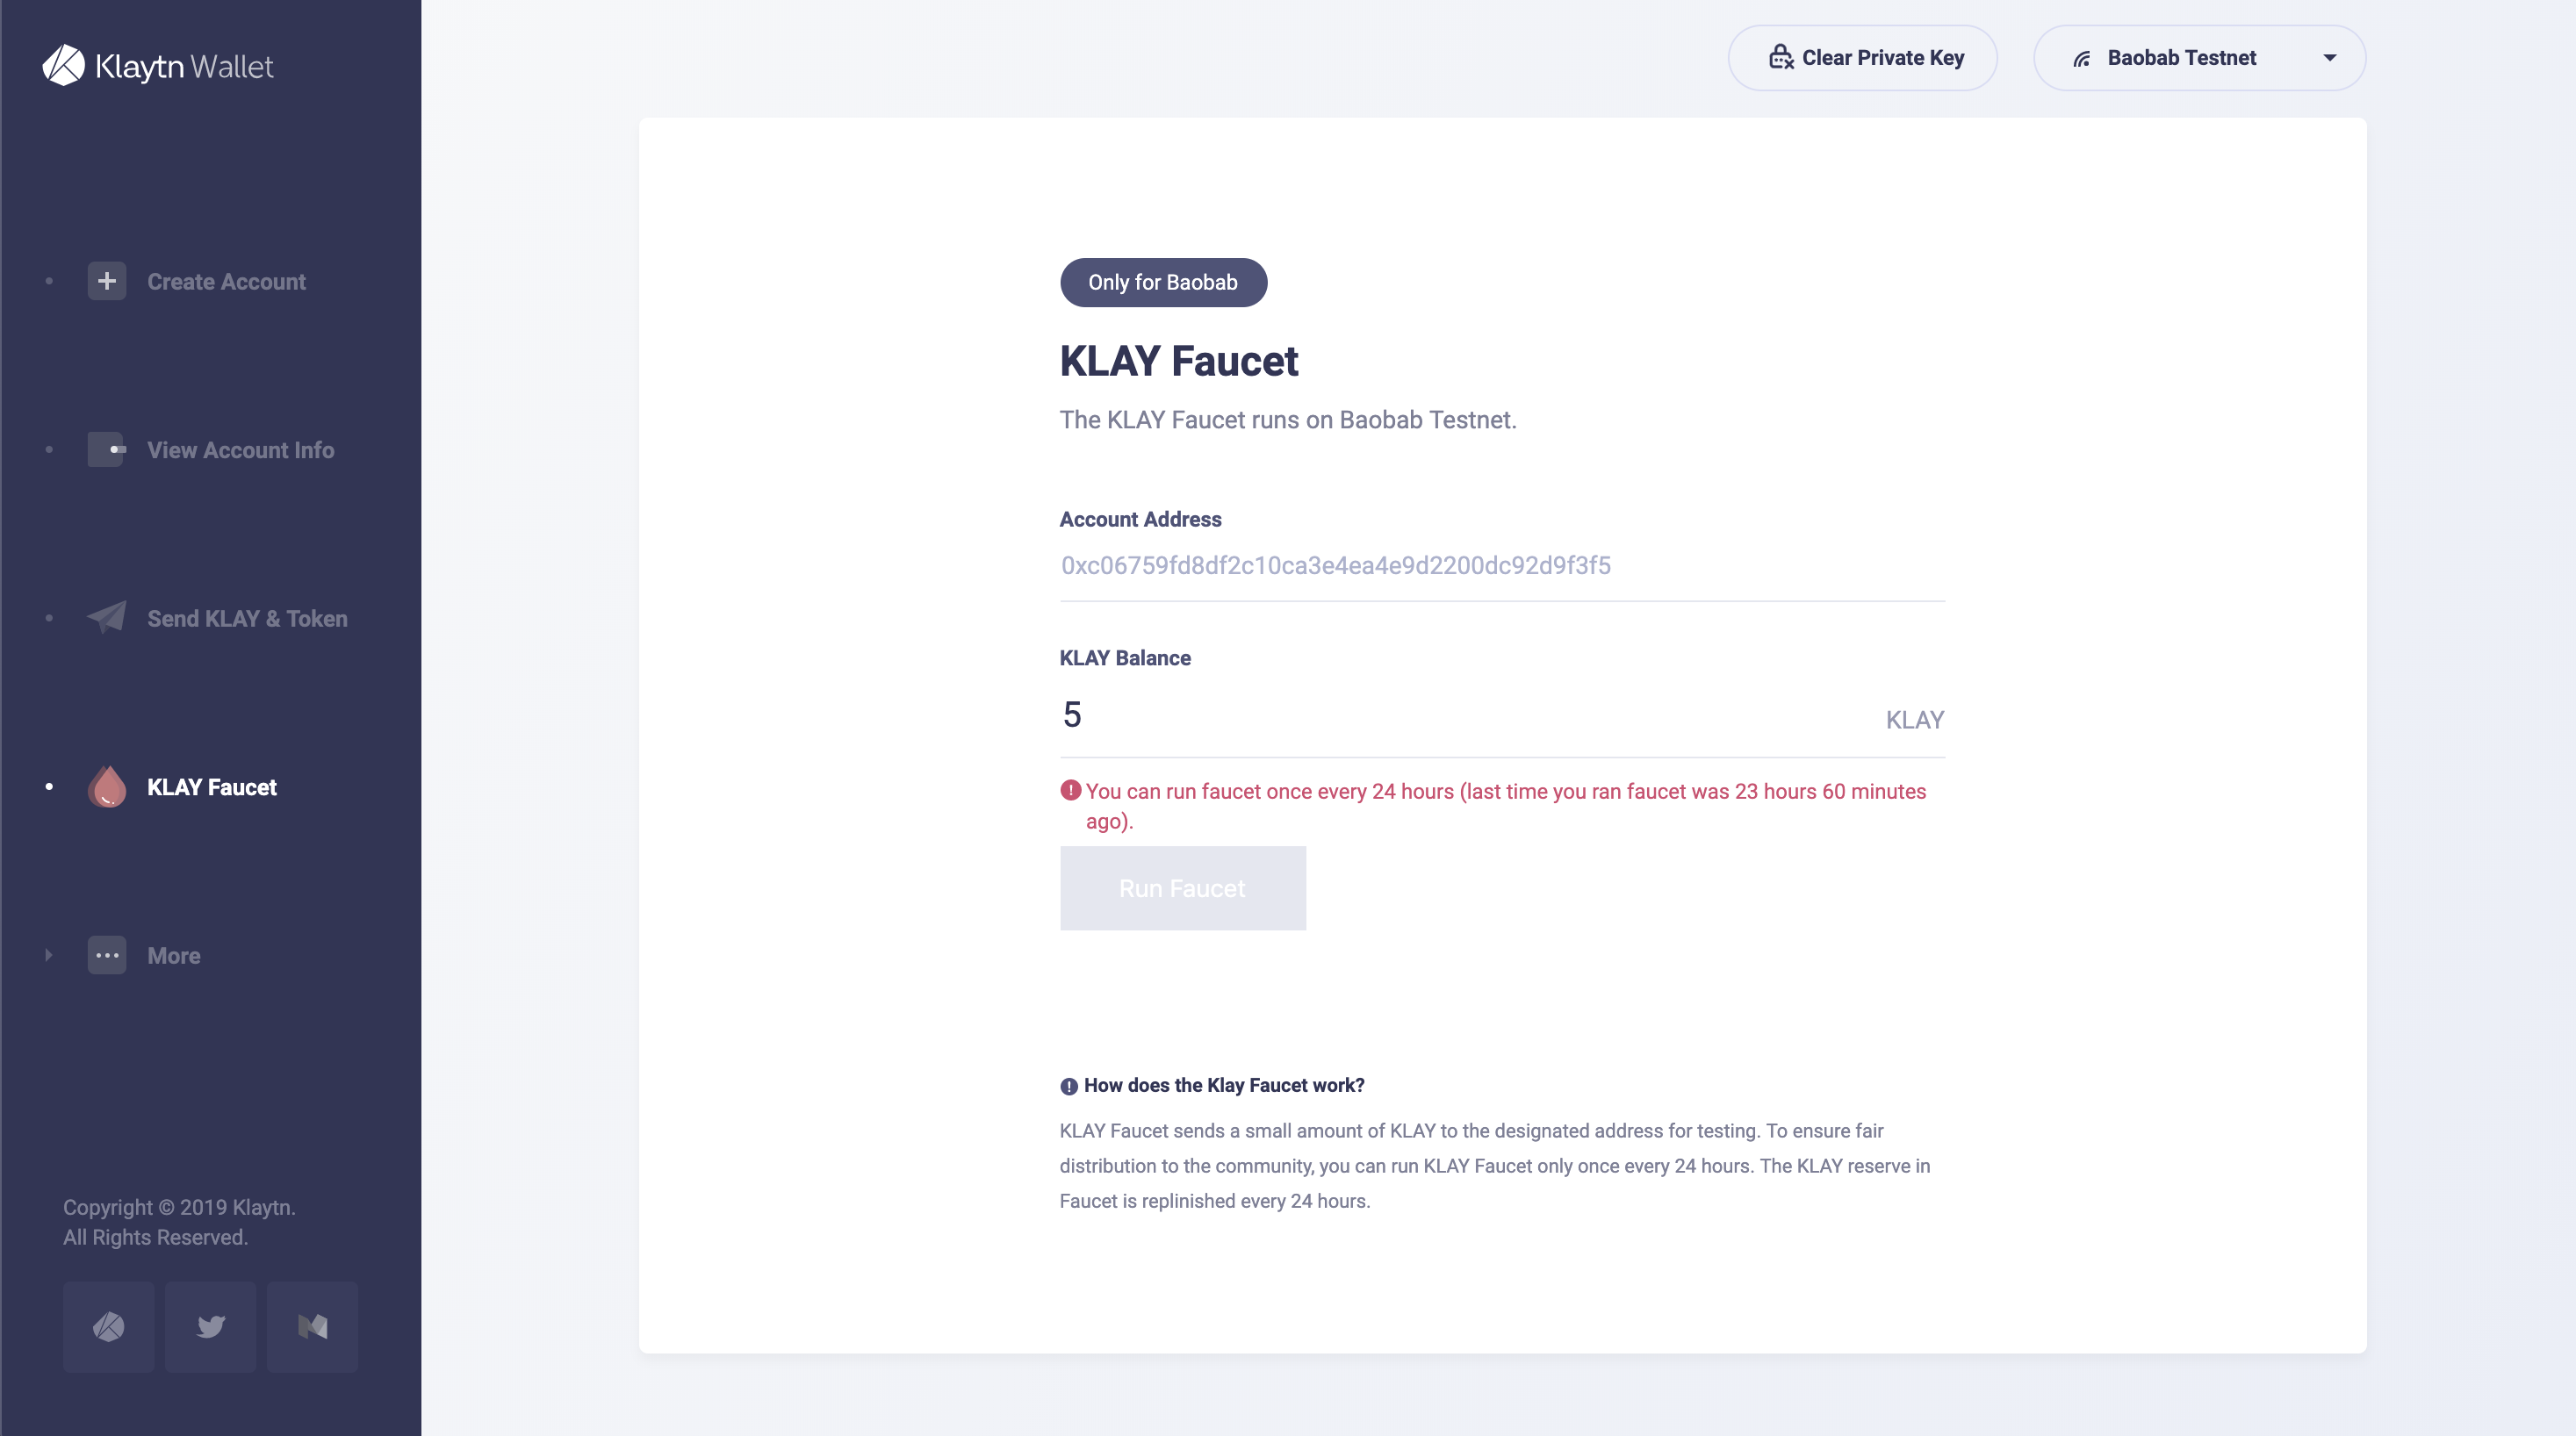
1) Get some KLAY
To deploy contract, we need some KLAY in your account to pay for gas price. You can get 150 KLAY via Klaytn Wallet in the testnet.
-
Create your Klaytn account at Baobab Klaytn Wallet ->
PRIVATE KEYwill be used in truffle configuration. So copy it down somewhere -
After creating your Klaytn account, run faucet to receive 5 Baobab testnet KLAY in Baobab Klaytn Faucet
2) truffle configuration
truffle-config.js is a configuration file including deployment configuration. We are going to deploy our contract using Private key we've just created in the previous step. Paste your Private key that has enough KLAY to truffle-config.js
WARNING: You shouldn't expose your private key. Otherwise, your account would be hacked.
// truffle-config.jsconst HDWalletProvider = require("truffle-hdwallet-provider-klaytn");/** * truffle network variables * for deploying contract to klaytn network. */const NETWORK_ID = '1001'/** * URL: URL for the remote node you will be using * PRIVATE_KEY: Private key of the account that pays for the transaction (Change it to your own private key) */const URL = 'https://public-en-baobab.klaytn.net'// Paste your `Private key` that has enough KLAY to truffle.jsconst PRIVATE_KEY = 'your_private_key'module.exports = { networks: { klaytn: { provider: () => new HDWalletProvider(PRIVATE_KEY, URL), network_id: NETWORK_ID, gas: '8500000', gasPrice: null, }, }, // Specify the version of compiler, we use 0.5.6 compilers: { solc: { version: '0.5.6', }, },}
networks property
See networks property above. klaytn network has 4 properties,
provider, network_id, gas, gasPrice.
provider: () => new HDWalletProvider(PRIVATE_KEY, URL)Just as the name indicates, it injects private key and url defined above.network_id: NETWORK_IDSpecify network id in Klaytn, you should set it to1001to use Klaytn Baobab network (testnet).gas: GASLIMITMaximum gas you are willing to spend.gasPrice: nullThis is price per every gas unit. Currently in Klaytn, the gas price is fixed to'25000000000'. By setting it tonull, truffle will automatically set the gas price.
compiler property
Remember that for Solidity contract we used version 0.5.6, thus specify compiler version here.
3) Deployment setup
migrations/2_deploy_contracts.js:
const Klaystagram = artifacts.require('./Klaystagram.sol')const fs = require('fs')module.exports = function (deployer) { deployer.deploy(Klaystagram) .then(() => { if (Klaystagram._json) { // 1. Record recently deployed contract's abi file to 'deployedABI' fs.writeFile( 'deployedABI', JSON.stringify(Klaystagram._json.abi, 2), (err) => { if (err) throw err console.log(`The abi of ${Klaystagram._json.contractName} is recorded on deployedABI file`) }) } // 2. Record recently deployed contract's address to 'deployedAddress' fs.writeFile( 'deployedAddress', Klaystagram.address, (err) => { if (err) throw err console.log(`The deployed contract address * ${Klaystagram.address} * is recorded on deployedAddress file`) }) })}
You can specify which contract code will you deploy in your contracts/ directory.
-
Import your contract file (
Klaystagram.sol) viaconst Klaystagram = artifacts.require('./Klaystagram.sol') -
Use
deployerto deploy your contract,deployer.deploy(Klaystagram). -
If you want to add more logic after deploying your contract, use
.then()(optional) -
To save contracts'
deployedABIanddeployedAddress, usefsnode.js modulefs.writeFile(filename, content, callback)(optional)
cf. For further information about artifacts.require(), refer to truffle official documentation at truffle docs
4) Deploy

In your terminal type $ truffle deploy --network baobab.
It will deploy your contract according to truffle-config.js and migrations/2_deploy_contracts.js configuration.
Terminal will display deployed contract address if deployment was successful.
cf) --reset option
If you provide this option, truffle will recompile and redeploy your contract even if contracts haven't changed.
ex) $ truffle deploy --reset --network baobab
4. Run App
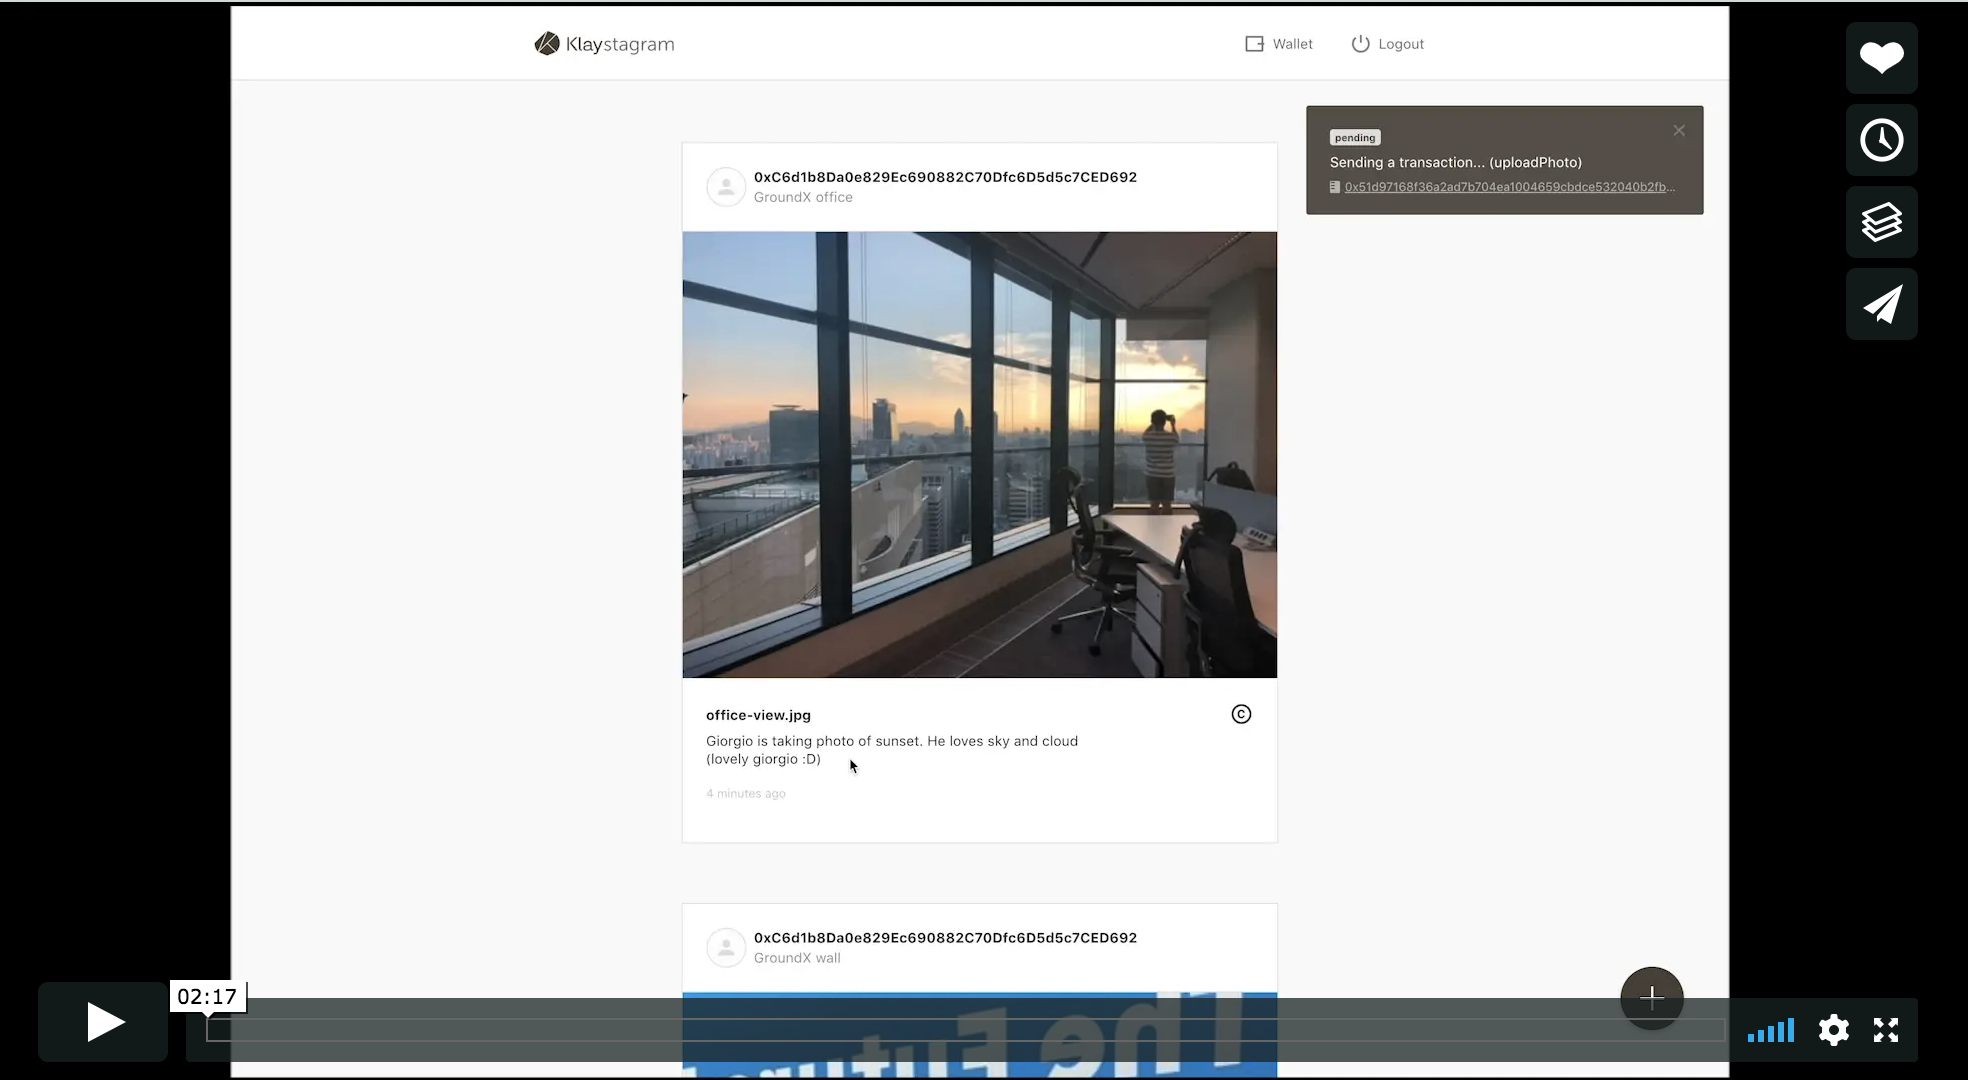
Run our app in the browser.
$ npm run local command will open a browser and start an app.