web3.js

web3.js is a JavaScript library that allows developers to interact with EVM-compatible blockchain networks like Klaytn. With Klaytn supporting features for Ethereum Equivalence, Ethereum tools such as web3.js can be used on Klaytn without any significant modifications.
Thus, developers can leverage this compatibility and use the web3.js library to interact with a Klaytn node.
In this guide, you'll learn how to use the web3.js library to read data from the blockchain, send a transaction and interact with an existing contract on the Klaytn Network.
Prerequisites
- Code-Editor: a source-code editor such as VS-Code.
- Metamask: used to deploy the contracts, sign transactions and interact with the contracts.
- RPC Endpoint: you can get this from one of the supported Endpoint Providers.
- Test KLAY from Faucet: fund your account with sufficient KLAY.
- NodeJS and NPM
Setup Project
To get started, you need to create a project directory to house the files to be created in this guide.
mkdir web3-jscd web3-js
Install web3.js
To install web3.js run the following command in your terminal:
npm install web3
Initialize web3.js
In this tutorial, we will create a bunch of scripts file to read data from the blockchain, send transactions, and also interact with existing smart contract. To get started, you need to know how to initialize web3.js for each of your script files.
Import web3 into your script file.
const { Web3 } = require('web3');
After successfully importing web3, you need to connect to Klaytn by instantiating a new web3.js object with an RPC URL of the Klaytn network. Add the code below to the existing code:
const url = "RPC URL" const web3 = new Web3(url);
Further, you need to add your private key to sign transactions. Add the code below to the existing code:
const privateKey = "Paste private key";
Reading data from the blockchain
To read data from the blockchain, create a new read.js file in your project folder by running this command:
touch read.js
After creating this file, initialize web3 as done in the initialize section. In this section, you'll learn how to read data from the blockchain (e.g., blockNumber, KLAY balance).
To see this in action, paste the following code in your read.js.
const { Web3 } = require('web3');const url = "RPC URL"const web3 = new Web3(url);async function getLatestBlock() { const latestBlock = await web3.eth.getBlockNumber(); console.log(latestBlock.toString());}async function getKlayBalance() { const klayBalance = await web3.eth.getBalance("Paste wallet address"); const formatBalance = await web3.utils.fromWei(klayBalance, 'ether'); console.log(`You have ${formatBalance} KLAY`);}// call the following functionsgetLatestBlock();getKlayBalance();
Output
To run the script and read data from the blockchain, run the following command in your terminal:
node read.js
If the transaction was successful, you'll see the block number and user’s KLAY balance logged in your terminal.
Sending transaction to the blockchain
To send transaction to the blockchain, create a new send.js file in your project folder by running this command:
touch send.js
After creating this file, initialize web3 as done in the initialize section. In this section, you ll learn how to send transaction to the blockchain e.g send KLAY to an address.
To see this in action, paste the following code in your send.js.
const { Web3 } = require('web3');const url = "RPC URL";const web3 = new Web3(url);const senderPrivateKey = "Paste private key";const senderAddr = "Paste sender address";const recipientAddr = "Paste recipient address";async function sendTx() { const tx = await web3.eth.accounts.signTransaction({ from: senderAddr, to: recipientAddr, value: 90000000000, maxFeePerGas: 250000000000, maxPriorityFeePerGas: 250000000000, gas: 21000, }, privateKey); const receipt = await web3.eth.sendSignedTransaction(tx.rawTransaction); console.log(receipt);}// call functionsendTx();
Output
To run the script and send data to the blockchain, run the following command in your terminal:
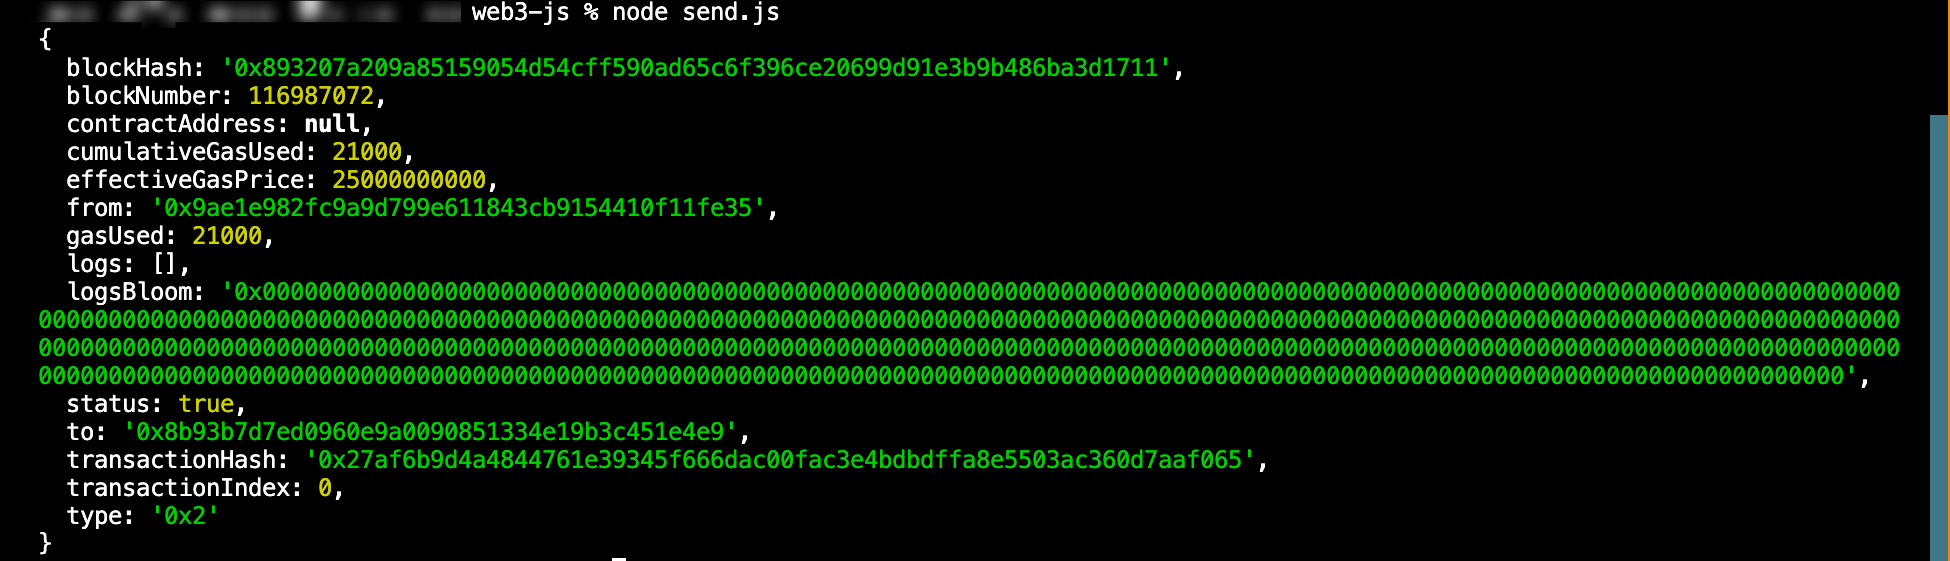
node send.js
If the transaction was succesful, you'll see the transaction receipt logged in your terminal.
Interacting with smart contracts
To interact with an existing smart contract on Klaytn, create a new interact.js file in your project folder by running this command:
touch interact.js
After creating this file, initialize web3 as done in the initialize section. In this section, you will use web3.js to interact with a smart contract on Klaytn by instantiating a Contract object using the ABI and address of a deployed contract.
For the purpose of this guide, a simple_storage contract was compiled and deployed on Remix IDE. We will be sending a transaction to the contract by calling the store function and also reading from it by calling the retrieve function.
To see this in action, paste the following code in your interact.js.
const { Web3 } = require('web3');const url = "RPC URL" const web3 = new Web3(url);const privateKey = "Paste private key";// replace with your contract ABIconst abi = [ { "inputs": [], "name": "retrieve", "outputs": [ { "internalType": "uint256", "name": "", "type": "uint256" } ], "stateMutability": "view", "type": "function" }, { "inputs": [ { "internalType": "uint256", "name": "num", "type": "uint256" } ], "name": "store", "outputs": [], "stateMutability": "nonpayable", "type": "function" }] // replace with your contract address const contractAddress = "0x472a1226796b6a0918DC78d40b87d750881fdbDC" const contract = new web3.eth.Contract(abi, contractAddress); // Can replace `10` with any value you want to store const storeTx = contract.methods.store(10); // send transaction to smart contract // modify contract async function setValue() { // Sign Tx with private key const createTransaction = await web3.eth.accounts.signTransaction( { to: contractAddress, data: storeTx.encodeABI(), gas: await storeTx.estimateGas(), maxFeePerGas: 250000000000, maxPriorityFeePerGas: 250000000000, }, privateKey ); // Send Tx and Wait for Receipt const createReceipt = await web3.eth.sendSignedTransaction(createTransaction.rawTransaction); console.log(`Tx hash: ${createReceipt.transactionHash}`); } // read contract data async function retrieveValue() { // read from contract const tx = await contract.methods.retrieve().call(); console.log(tx); } // call functions setValue(); retrieveValue();
Output
To run the script and interact with smart contracts, run the following command in your terminal:
node interact.js
If the transaction was succesful, you'll see the transaction hash and the value stored in your terminal.
For more in-depth guide on web3.js, please refer to web3.js docs. Also, you can find the full implementation of the code for this guide on GitHub